English
 日本語
日本語
 Español
 Deutsch


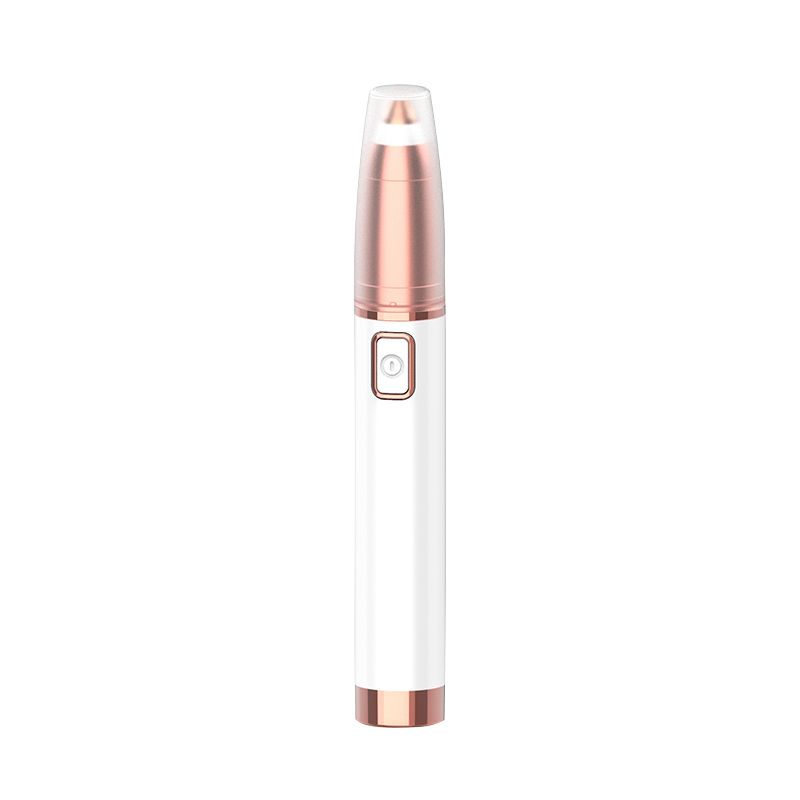
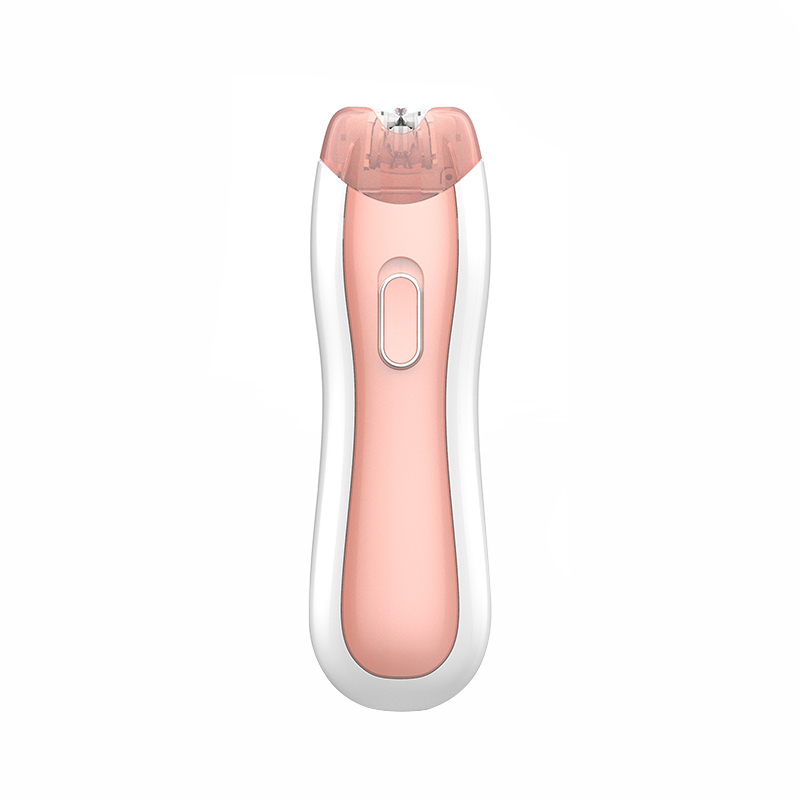
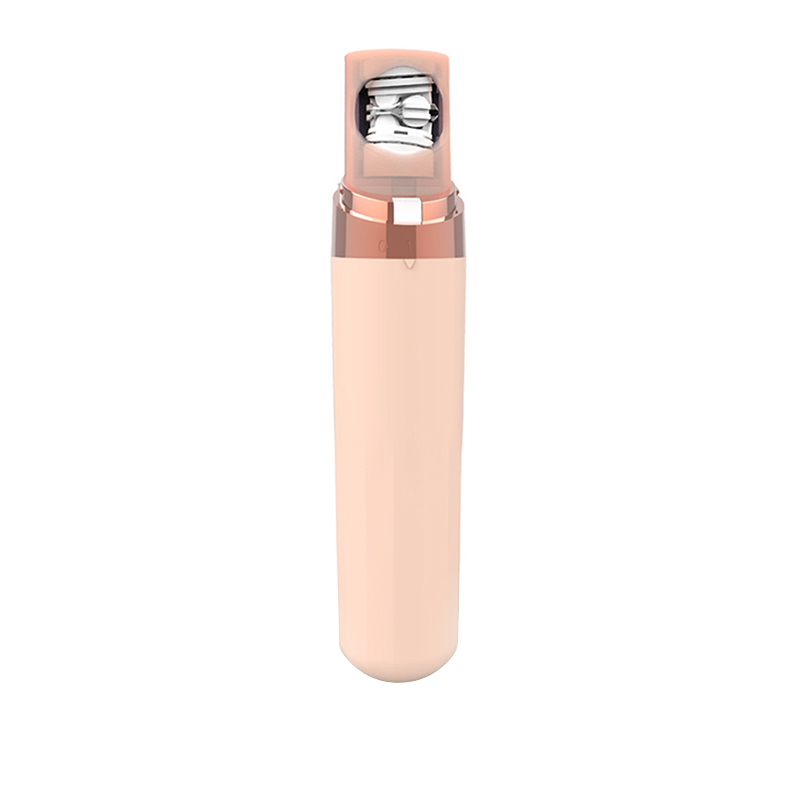
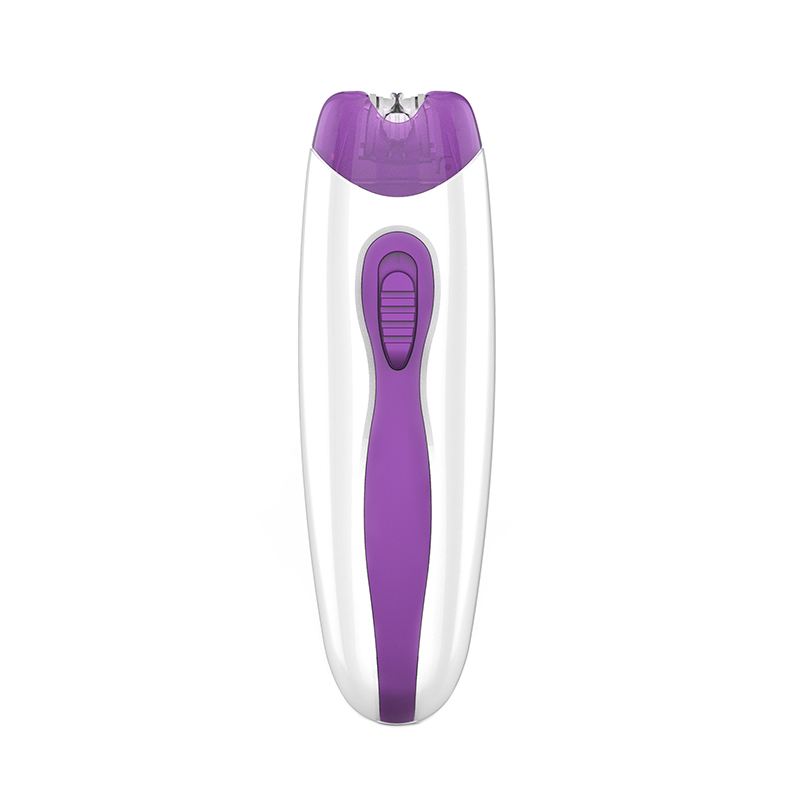
To clean an electric shaver, tap out loose hair clippings after every use, rinse the shaving head under warm running water (if your model is waterproof), use the included cleaning brush to remove fine debris, and apply a drop of clipper oil to the blades every 1–2 weeks. A thorough deep clean — disassembling the head, washing all components, and lubricating — should be done at least once a month. Following this routine keeps blades sharp longer, prevents skin irritation, and extends the life of your shaver by 2–3 years compared to irregular maintenance.
Neglecting to clean your electric shaver regularly leads to clogged blades, reduced cutting efficiency, bacterial buildup on the skin contact surface, and premature blade wear. A dirty shaver forces you to press harder against the skin — increasing the risk of razor burn, ingrown hairs, and irritation. This guide covers everything from daily quick-clean routines to monthly deep-clean procedures for both foil and rotary electric shavers.
- Why Cleaning Your Electric Shaver Regularly Matters
- What You Need to Clean an Electric Shaver
- How to Clean a Foil Electric Shaver: Step by Step
- How to Clean a Rotary Electric Shaver: Step by Step
- Foil vs. Rotary Shaver Cleaning: Key Differences at a Glance
- How to Clean an Electric Shaver Without Water
- Recommended Electric Shaver Cleaning Schedule
- Common Mistakes to Avoid When Cleaning an Electric Shaver
- Frequently Asked Questions About Cleaning Electric Shavers
- Q: How often should I clean my electric shaver?
- Q: Can I use soap to clean my electric shaver?
- Q: Can I use rubbing alcohol to clean my electric shaver?
- Q: My electric shaver is pulling and tugging after cleaning — why?
- Q: Do automatic cleaning stations replace manual cleaning?
- Q: How do I know when to replace blades instead of just cleaning them?
- Q: Is it safe to clean an electric shaver while it is plugged in?
- Final Summary: How to Clean an Electric Shaver the Right Way
Why Cleaning Your Electric Shaver Regularly Matters
Regular cleaning of your electric shaver directly affects shaving performance, skin health, and how long the device lasts — making it one of the most impactful maintenance habits you can build. Hair clippings, dead skin cells, shaving cream residue, and natural skin oils accumulate inside the shaving head after every single use. This buildup creates three compounding problems.
First, clogged blades cut less efficiently. Tests conducted by grooming equipment researchers show that an uncleaned foil shaver loses up to 30% of its cutting efficiency within two weeks of daily use without cleaning. You end up going over the same area multiple times, which increases friction and skin irritation.
Second, bacteria and fungi thrive in warm, hair-filled shaver heads. Staphylococcus aureus and other common skin bacteria can multiply rapidly in an uncleaned shaver, potentially causing folliculitis (infected hair follicles), acne flare-ups, or contact dermatitis — especially in people with sensitive skin.
Third, blade wear accelerates without lubrication. Metal-on-metal friction between the foil and cutter block, or between rotary blades and their housing, causes microscopic wear with every shave. A single drop of lubricating oil applied regularly reduces this friction significantly and can extend blade life from a typical 12 months to 18–24 months.
What You Need to Clean an Electric Shaver
Cleaning an electric shaver requires only a few basic tools — most of which are either included with the shaver or cost under $5 to purchase separately. Having everything ready before you start makes the process faster and more effective.
- Cleaning brush: Most electric shavers include a small brush in the box. If yours is lost or worn out, any soft-bristle paintbrush or dedicated blade-cleaning brush works well.
- Warm running water: For waterproof shavers rated IPX5 or higher. Never use hot water — it can warp plastic components.
- Liquid hand soap or shaver-safe liquid soap: A tiny drop is sufficient for a full head wash. Avoid antibacterial soaps with harsh chemicals that can degrade rubber seals.
- Clipper oil or light mineral oil: Purpose-made clipper oil is ideal. A light sewing machine oil also works. Never use WD-40, cooking oil, or petroleum jelly.
- Isopropyl alcohol (70% concentration): Optional but useful for disinfecting the shaving head between full washes, especially when sharing the shaver or after skin breakouts.
- Clean microfiber cloth or paper towels: For drying components before reassembly.
- Small bowl or sink basin: Useful for soaking components during a deep clean.
How to Clean a Foil Electric Shaver: Step by Step
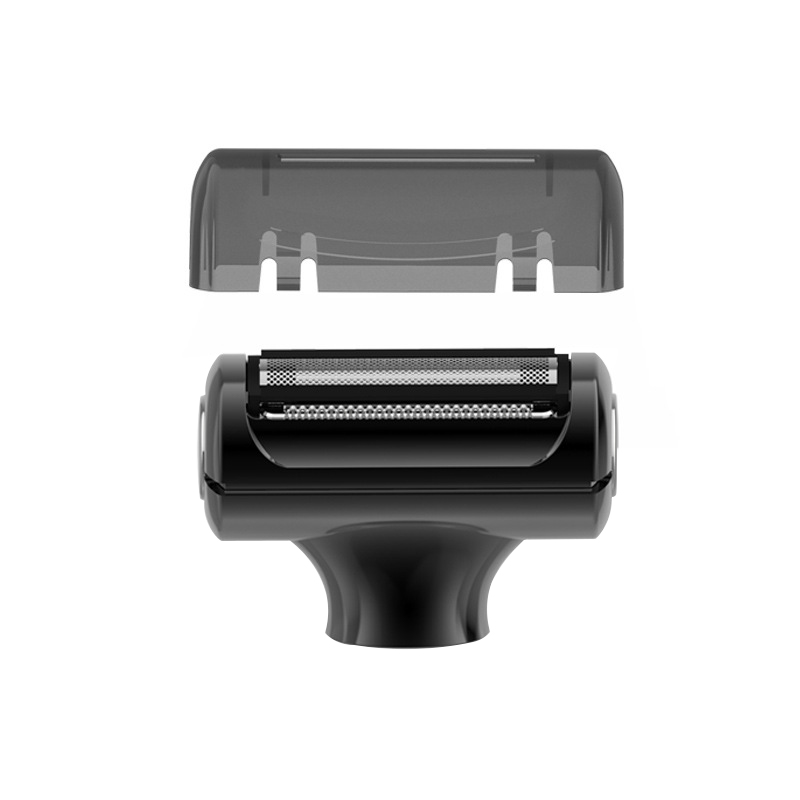
Foil electric shavers should be cleaned after every use with a quick brush-out, rinsed under water if waterproof, and deep-cleaned monthly by fully disassembling the head and washing each component. Foil shavers have a thin perforated metal screen (the foil) and an oscillating cutter block beneath it — both of which collect hair and debris.
Daily Quick Clean (After Every Shave — 1 Minute)
- Turn off the shaver and unplug it from any charging cable before opening the head.
- Open or remove the shaver head by pressing the release button. On most foil shavers, the foil frame lifts off the top of the body.
- Tap the head gently against the palm of your hand or a tissue to dislodge loose hair clippings. Never tap it against the sink — this can bend the foil.
- Use the cleaning brush to sweep hair off the foil and the cutter block. Brush in one direction only — back and forth motion can push debris deeper into the mesh. Brush lightly; the foil is delicate and punctures easily.
- If your shaver is waterproof, hold the open head under warm running water for 10–15 seconds to flush out fine particles. Shake off excess water and leave it open to air-dry before closing.
- Reassemble only when all parts are dry to prevent moisture from being sealed inside the body.
Monthly Deep Clean for Foil Shavers (10–15 Minutes)
- Fully disassemble the shaving head. Remove the foil frame, then carefully lift the cutter block out. Keep components from different head sections together — mixing foil and cutter block pairs from different positions reduces cutting efficiency.
- Brush all components thoroughly before introducing water. Dry brushing first removes the bulk of debris and makes the water rinse more effective.
- Rinse under warm running water for 20–30 seconds. Add a tiny drop of liquid soap and gently agitate the foil and cutter block under the stream. Do not scrub the foil — it is extremely thin (often less than 0.1mm) and can easily deform.
- Rinse thoroughly until no soap residue remains. Soap film left on blades attracts more debris and can cause skin irritation.
- Disinfect with isopropyl alcohol (optional): Spray or dab 70% isopropyl alcohol onto the foil and cutter block. Allow it to evaporate completely — this typically takes 1–2 minutes and leaves no residue.
- Dry all components completely. Pat gently with a clean cloth and then allow to air-dry for at least 30 minutes before reassembling. Residual moisture trapped inside can corrode internal components.
- Lubricate before reassembling. Apply one drop of clipper oil onto the foil mesh. Run the shaver for 10 seconds to distribute the oil across the blade surface. Wipe away any excess with a cloth.
- Reassemble carefully, ensuring each cutter block aligns with its original foil position.
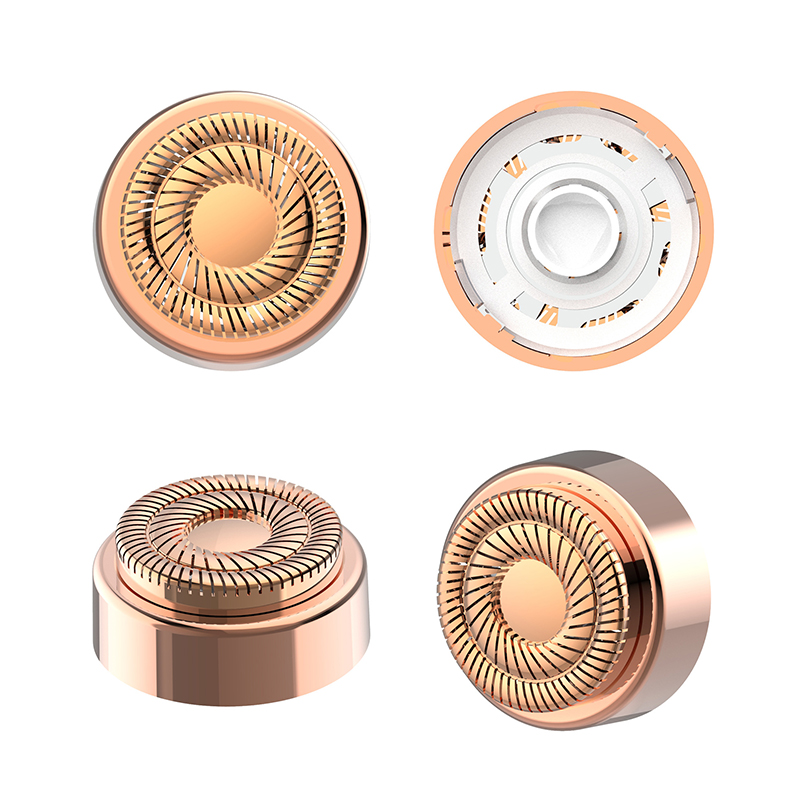
How to Clean a Rotary Electric Shaver: Step by Step
Rotary electric shavers have a more complex head structure with multiple spinning blade discs and requires careful disassembly to clean each disc and its housing chamber individually. The rotating blades trap hair in the gaps between the disc and housing in a way that a simple rinse often cannot fully clear — making brush cleaning especially important.
Daily Quick Clean — Rotary (1–2 Minutes)
- Turn off and unplug the shaver.
- Press the head release to detach the entire rotary head assembly from the shaver body.
- Tap the head gently against your palm to loosen cuttings trapped in the blade chambers.
- Use the cleaning brush to sweep around each rotary disc in a circular motion, matching the direction of blade rotation to avoid bending the cutting edges.
- Rinse under warm water if waterproof. The open head design of most rotary shavers allows water to flush through the chambers effectively. Run water through for 15–20 seconds.
- Shake and air-dry before reattaching to the body.
Monthly Deep Clean — Rotary (15–20 Minutes)
- Remove the head assembly and then open the retaining ring to access individual blade discs. On most three-head rotary shavers, each disc lifts out individually.
- Label or photograph the orientation of each disc before removal — reinstalling them in the wrong position causes uneven shaving.
- Dry-brush each disc and housing chamber to remove accumulated hair before introducing water.
- Rinse each disc and the housing under warm running water with a small amount of liquid soap. Use the brush to clean inside each housing chamber — this area accumulates the most debris in rotary shavers.
- Rinse thoroughly and inspect each disc for bent or worn cutting edges. Worn edges appear dull and may have slight chips or uneven gaps.
- Disinfect with isopropyl alcohol and allow to evaporate fully.
- Dry completely — at least 30–60 minutes of air drying for rotary heads, which have deeper chambers that retain moisture longer than foil heads.
- Apply one drop of oil to the center spindle of each rotary disc. Reinstall discs in their original positions, run the shaver for 10 seconds to distribute oil, and wipe excess.
Foil vs. Rotary Shaver Cleaning: Key Differences at a Glance
The cleaning process for foil and rotary electric shavers differs in disassembly complexity, fragility of components, drying time, and the specific areas requiring the most attention. Understanding these differences prevents accidental damage during cleaning.
| Cleaning Factor | Foil Electric Shaver | Rotary Electric Shaver |
| Daily clean time | ~1 minute | ~2 minutes |
| Monthly deep clean time | 10–15 minutes | 15–20 minutes |
| Most fragile component | Foil mesh (punctures easily) | Blade disc edges (can bend) |
| Brushing direction | One direction only | Circular (follow blade rotation) |
| Water rinse effectiveness | Good — open mesh allows flow | Moderate — chambers trap debris |
| Drying time required | 30 minutes | 30–60 minutes |
| Component orientation matters? | Yes (foil-cutter pairs) | Yes (disc position per head) |
| Lubrication point | Top of foil mesh | Center spindle of each disc |
Table 1: Side-by-side comparison of cleaning procedures, component fragility, drying requirements, and lubrication points for foil vs. rotary electric shavers.
How to Clean an Electric Shaver Without Water
If your electric shaver is not waterproof, you must clean it using dry methods only — water exposure can permanently damage the motor, battery, and internal electronics. Check your shaver's IP (Ingress Protection) rating before introducing any water. A rating of IPX5 or higher indicates the shaver can handle water rinsing; IPX4 means splash-resistant only; no IP rating means keep it dry.
Dry Cleaning Method (For Non-Waterproof Shavers)
- Turn off the shaver and remove it from any power source.
- Open the shaving head and tap out loose cuttings carefully.
- Brush all components thoroughly with the cleaning brush. Spend extra time on the cutter block and the inside of the head housing where debris collects in corners.
- Use a can of compressed air (available at electronics stores) to blast out fine hair particles from hard-to-reach areas. Hold the can upright and use short bursts to avoid moisture from propellant reaching the blades.
- Disinfect with a dry alcohol wipe or a cloth lightly dampened with isopropyl alcohol. Wipe the foil or rotary discs and allow to evaporate completely before closing.
- Lubricate with one drop of clipper oil applied to the blade surface. Run the shaver for 10 seconds to distribute, then wipe the excess.
Recommended Electric Shaver Cleaning Schedule
Establishing a consistent cleaning schedule — rather than cleaning only when performance visibly drops — is the single most effective maintenance habit for prolonging electric shaver life and shave quality.
| Frequency | Task | Time Required | Tools Needed |
| After every shave | Tap out hair, brush head, rinse if waterproof | 1–2 min | Brush, water |
| Every 1–2 weeks | Lubricate blades with clipper oil | 2 min | Clipper oil |
| Once a month | Full disassembly, wash, disinfect, dry, lubricate | 15–20 min | Brush, soap, water, alcohol, oil, cloth |
| Every 12–18 months | Replace foil and cutter block (foil) or rotary discs | 5 min | Replacement blades/foils |
| As needed | Disinfect with isopropyl alcohol (after illness or skin breakouts) | 2–3 min | 70% isopropyl alcohol |
Table 2: Recommended maintenance schedule for cleaning an electric shaver, including task descriptions, time requirements, and tools needed at each interval.
Common Mistakes to Avoid When Cleaning an Electric Shaver
The most damaging mistakes when cleaning an electric shaver are using water on a non-waterproof model, scrubbing the foil too aggressively, and reassembling components before they are fully dry. Each of these errors can permanently damage the shaver or shorten its lifespan significantly.
- Tapping the head on the sink edge: This is one of the most common ways to dent or puncture a foil. Always tap against your palm or a soft surface.
- Using hot water: Hot water can warp the plastic housing, loosen adhesives, and cause rubber seals to degrade faster. Always use lukewarm or room-temperature water.
- Scrubbing the foil with a stiff brush: The foil on most shavers is thinner than a human hair. A stiff brush can push through the mesh and destroy it. Use only a soft-bristle brush with very light pressure.
- Mixing up foil and cutter block pairs: Each foil wears against its specific cutter block over time, creating a matched pair. Swapping them causes a sharp increase in friction and noise and dramatically reduces cut quality.
- Reassembling while wet: Even small amounts of residual moisture sealed inside the shaver body can corrode metal contacts and degrade motor components. Always allow 30–60 minutes of air drying.
- Over-lubricating: More oil is not better. Excess lubricant attracts fine hair particles and debris, creating a paste that clogs the blade faster. One drop per cleaning session is sufficient.
- Using cooking oil, WD-40, or baby oil: These either gum up blades, cause rubber degradation, or leave residues that transfer to skin. Only use purpose-made clipper oil or light mineral oil.
- Skipping cleaning because the shaver looks clean: Fine hair dust and skin cell residue are not always visible but accumulate rapidly. A shaver that looks clean on the outside can still have significant debris packed into the blade mechanism.
Frequently Asked Questions About Cleaning Electric Shavers
Q: How often should I clean my electric shaver?
You should do a basic clean — tapping out debris and brushing the head — after every single shave, and a full deep clean with disassembly and washing at least once a month. If you shave daily, consider doing a quick rinse under water (if waterproof) every use. The 5 seconds it takes to tap out and brush your shaver adds years to its service life.
Q: Can I use soap to clean my electric shaver?
Yes — a small amount of mild liquid hand soap or dish soap is safe and effective for washing waterproof electric shaver heads. Use only a drop — you do not need more. Rinse very thoroughly afterward to remove all soap residue, which can irritate skin and attract debris if left on blades. Avoid antibacterial soaps, soaps containing moisturizers, or any soap with abrasive particles.
Q: Can I use rubbing alcohol to clean my electric shaver?
Yes — 70% isopropyl alcohol is safe and effective for disinfecting electric shaver blades and kills the vast majority of common skin bacteria within 30 seconds of contact. Apply with a cotton ball, dropper, or spray bottle. Allow it to evaporate completely before using or reassembling the shaver — this typically takes 1–2 minutes. Do not use alcohol concentrations above 90% regularly, as very high-concentration alcohol can degrade some plastic and rubber components over time.
Q: My electric shaver is pulling and tugging after cleaning — why?
Pulling and tugging after cleaning is almost always caused by reassembling the foil and cutter block in the wrong pairing, or by a foil that is worn out and needs replacement. First, verify that each cutter block is reinstalled beneath its original foil. If they are correctly paired and tugging persists, inspect the foil for visible wear or any dents and dimples — this is a sign the foil has reached end of life and needs replacement. Most foils should be replaced every 12–18 months with regular daily use.
Q: Do automatic cleaning stations replace manual cleaning?
Automatic cleaning and charging stations are convenient and do a good job of daily maintenance, but they do not fully replace periodic manual deep cleaning. These stations circulate a cleaning fluid through the shaving head, which removes most hair debris and lubricates blades automatically. However, they do not disassemble the head to clean inside housing chambers or inspect for blade wear. Manual deep cleaning every 2–3 months is still recommended even when using an automatic cleaning station.
Q: How do I know when to replace blades instead of just cleaning them?
Replace your electric shaver's blades or foil when cleaning no longer restores smooth, comfortable shaving performance — typically every 12–18 months with daily use. Specific signs that blades need replacement rather than cleaning include: persistent skin irritation even on freshly cleaned blades, visible dents or holes in the foil, a noticeable increase in motor noise as the shaver works harder to cut, and needing multiple passes over the same area to achieve a close shave. Most manufacturers recommend annual blade replacement for daily users.
Q: Is it safe to clean an electric shaver while it is plugged in?
No — always unplug your electric shaver from its charger and power source before beginning any cleaning procedure. Even waterproof shavers rated for shower use should be cleaned unplugged. The waterproofing of these models protects the internal components during use in water, but opening the head while plugged in still presents an electrical safety risk. The only exception is when running the shaver briefly to distribute lubricating oil after cleaning — this can be done cordlessly on battery power.
Final Summary: How to Clean an Electric Shaver the Right Way
Cleaning your electric shaver properly comes down to consistency, using the right tools, and understanding that different shaver types require slightly different approaches. The habits that make the biggest difference are simple: brush after every use, rinse if waterproof, lubricate every 1–2 weeks, and commit to a monthly deep clean with full disassembly.
Whether you use a foil electric shaver or a rotary electric shaver, the principles are the same — remove debris before it builds up, keep blades lubricated, dry completely before reassembly, and replace blades on schedule rather than waiting for visible failure. A shaver maintained this way will deliver consistent, comfortable shaves for years and protect your skin from the irritation and bacterial risks that come with a neglected blade.
The entire routine — daily quick clean plus monthly deep clean — takes fewer than 20 minutes per month. That investment pays back in sharper blades, smoother shaves, healthier skin, and a shaver that performs like new well beyond its expected service window.