English
  日本語
日本語
 Español
 Deutsch



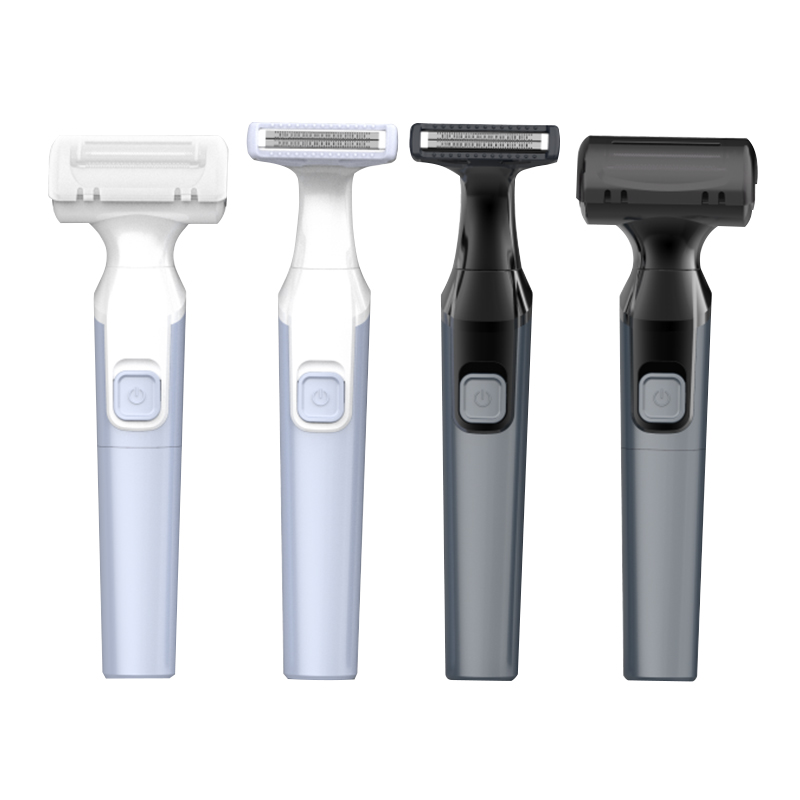
A shaver that is never opened for cleaning collects far more than whiskers. Dead skin cells, natural facial oils, soap residue, and bacteria build up in the foils and cutter blades within days of normal use. That film does not just look unhygienic: it makes the blades dull faster, increases tugging, and raises the risk of razor burn or follicle infection. The practical conclusion is simple. Brush the cutting head after every shave, rinse washable models under warm running water, and deep-clean with soap and water every one to two weeks. The method below follows the way foil and rotary shavers are actually built, so you can clean almost any model with confidence.
Content
- Why Cleaning Your Electric Shaver Affects Performance
- What You Need Before You Start
- The After-Shave Routine That Takes One Minute
- Deep Cleaning: The Step-by-Step Method
- Drying and Lubrication: The Two Steps Most People Skip
- How Often You Should Clean an Electric Shaver
- Washable vs. Non-Washable Shavers: What the Rating Really Means
- Common Cleaning Mistakes That Shorten a Shaver's Life
- When to Replace the Shaver Head and Blades
Why Cleaning Your Electric Shaver Affects Performance
An electric shaver cuts hair by trapping it between a perforated foil or rotary disc and a fast-moving cutter. Every shave leaves tiny fragments of hair, dead skin, and oil inside that cutting geometry. Once the debris dries, it acts like fine sandpaper and accelerates wear on the blade edges. When the blades start to dull, users naturally press harder; that pressure pushes the foil against the skin and creates the redness and soreness that many blame on the shaver itself.
Regular cleaning is the cheapest performance upgrade an electric shaver can receive. A clean head restores blade contact, reduces friction, and stops bacteria from multiplying on a warm, moist surface. For anyone with sensitive skin, this routine matters more than the price of the shaver.
What You Need Before You Start
You do not need a special cleaning kit. Most shavers ship with a small brush, and that brush plus a few household items is enough to keep the head in good condition.
- Cleaning brush supplied with the shaver
- Warm running water and mild liquid soap
- A shallow bowl for soaking foil and cutters
- 70% isopropyl alcohol for sanitizing
- Light shaver oil or sewing machine oil
- Soft, lint-free cloth for drying
The After-Shave Routine That Takes One Minute
Most of the soil in an electric shaver is loose hair, so the fastest routine is also the most effective:
- Turn the shaver off and detach the shaving head from the body.
- Tap the head gently against the side of a sink to dislodge loose hair.
- Brush the foils and cutters in the direction of the blade contour, then brush the hair chamber underneath.
- If the head is rated waterproof, rinse it under warm running water for three to five seconds; if not, use the brush alone.
- Shake off excess water, pat the head dry with the cloth, and leave it open to air dry for a few minutes before reassembling.
Shavers used daily should get this treatment after every shave. Shavers used two or three times a week can go two or three shaves between brush-outs, but no longer.
Deep Cleaning: The Step-by-Step Method
Even with regular brushing, a weekly or biweekly deep clean is needed to remove the oily film that brushing cannot shift. The exact steps depend on the cutting system.
Foil Shavers
Remove the foil frame and the cutter blade from the shaver body, following the release mechanism on your model. Fill a small bowl with warm water and one drop of mild liquid soap, then soak the foil and cutter for 15 to 30 minutes. Heavily clogged heads can soak for up to an hour. Do not soak the main body unless the manufacturer explicitly states that the whole shaver is waterproof. On fully waterproof models, such as the fully washable multifunctional electric shaver, rinsing the entire head section under warm water is faster and just as effective. After soaking, brush each part gently, rinse under warm water, shake off the excess, and pat dry.
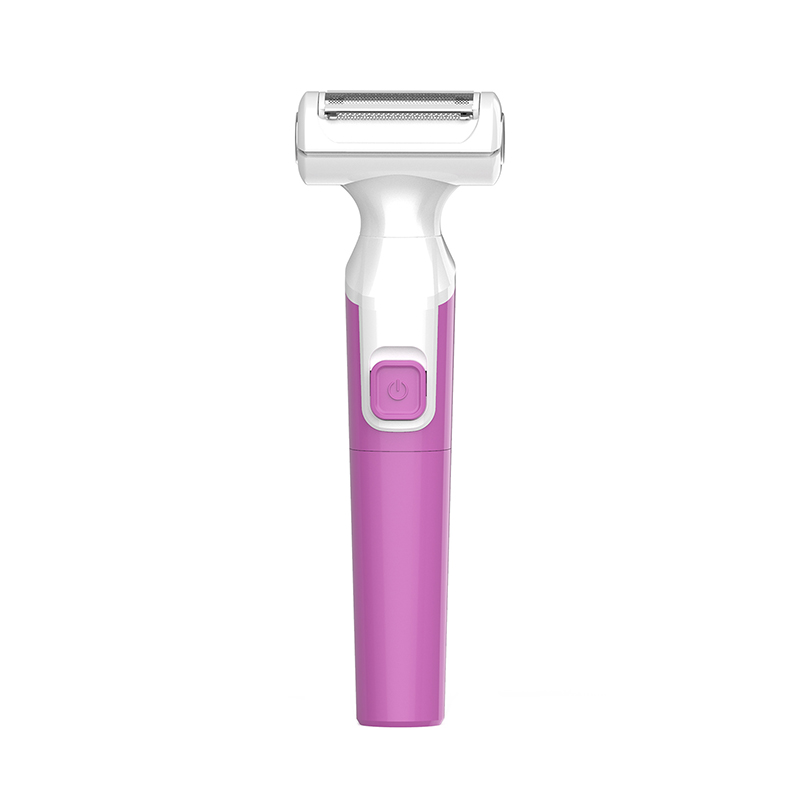 Custom Full body washable multifunctional electric shaver (SF-2200) Suppliers, OAs a China Full body washable multifunctional electric shaver (SF-2200) suppliers and Full body washable multifunctional electric shaver ...View Product →
For the complete sequence, including how to disassemble different head types and in what order to reassemble them, our electric shaver cleaning and maintenance guide walks through every stage.
Rotary Shavers
Flip open the shaving unit and remove the three cutter discs one at a time, keeping them in their original positions. Brush each disc and the central shaft with the supplied brush, then wipe the plastic housing with a dry cloth or an alcohol-dampened swab. Unless the rotary unit carries an explicit waterproof rating, skip the water entirely; moisture can wick along the shaft and into the motor. Reinsert each disc in its original slot and close the unit.
Drying and Lubrication: The Two Steps Most People Skip
Reassembling a shaver with damp parts traps moisture inside the head, and that moisture is the main cause of odor, corrosion, and bacterial regrowth. Give the foil, cutters, and hair chamber 30 to 60 minutes of open air drying before you put the shaver back together.
Lubrication matters just as much. After the head is completely dry, place one small drop of light shaver oil on each foil and cutter, or on each rotary disc, and run the shaver for about 10 seconds to distribute the oil. One drop per cutting element, applied once or twice a month, is enough. Do not use cooking oil or thick grease: they collect dust and turn tacky within a few shaves.
Blade edges and battery capacity age in parallel, and both respond to regular maintenance. A closer look at preserving blade sharpness and battery durability explains why lubrication, not just cleaning, determines how long a shaver stays comfortable to use.
How Often You Should Clean an Electric Shaver
For a shaver used four to five times per week, the schedule below keeps the head efficient and hygienic:
| Task | Frequency |
|---|---|
| Brush out loose hair | After every shave |
| Rinse head under warm water (washable models) | Every 2-3 shaves |
| Deep clean with soap and a soak | Every 1-2 weeks |
| Lubricate foils and cutters | Every 1-2 weeks after a deep clean |
| Sanitize with 70% alcohol | Weekly, for sensitive skin or shared use |
| Replace foil and cutter set | Every 12-18 months |
Adjust the intervals up or down based on how many shaves you actually do per week.
Washable vs. Non-Washable Shavers: What the Rating Really Means
The single biggest factor in cleaning difficulty is the water-resistance rating. Non-waterproof shavers are limited to dry brushing and a sprayed-on cleaner, then wiping with a cloth. Waterproof models, usually rated IPX5 or IPX7, allow the head to be rinsed directly, and some can be washed as a complete unit. This is the difference that determines how fast a daily routine is, and it is why understanding how the washable feature affects long-term maintenance is useful before you buy.
The combination of a sealed body and a low-noise motor shows the benefit most clearly: a washable silent electric shaver can be rinsed under the tap without risk to the electronics in shared bathrooms or hotel rooms, where the operation also needs to stay quiet.
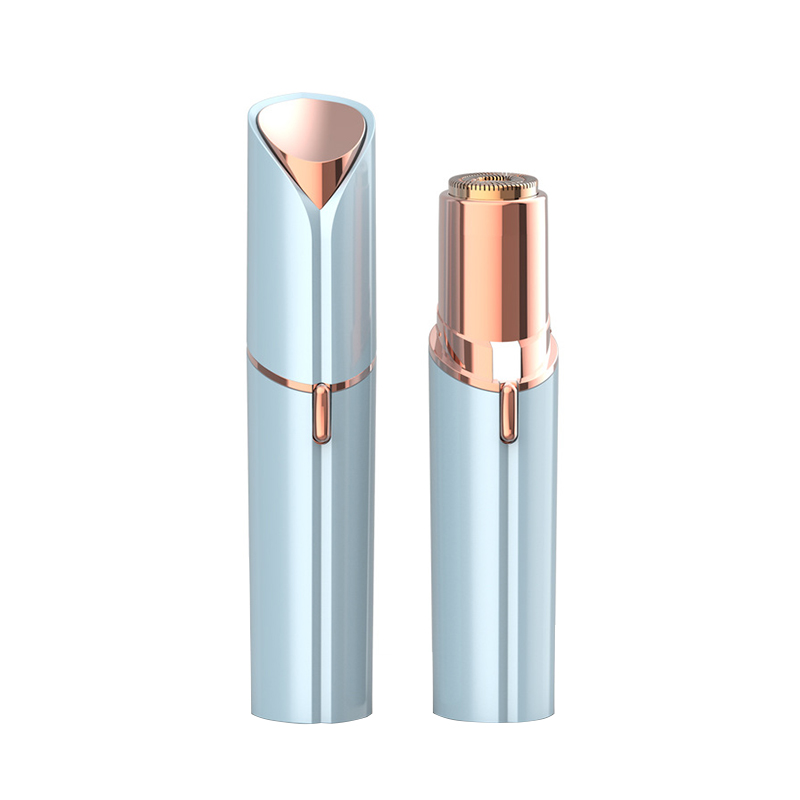 Custom Washable silent electric shaver (SF-1106) Suppliers, OEM/ODM Factory - YuAs a China Washable silent electric shaver (SF-1106) suppliers and Washable silent electric shaver (SF-1106) factory, Yuyao Aisen Electri...View Product →
Common Cleaning Mistakes That Shorten a Shaver's Life
Even owners who clean regularly can damage the head through small errors.
- Submerging a non-waterproof body to remove stubborn hair. Water wicks into the motor and corrodes the contacts.
- Using very hot or boiling water, which can warp thin foils and soften plastic clips. Warm water is sufficient.
- Brushing aggressively against the blade contour, which bends the teeth of the foil.
- Reassembling the head while it is still damp. Trapped moisture is the leading cause of odor and corrosion.
- Skipping lubrication after water-based cleaning, because rinsing washes away the factory-applied oil.
- Using solvents or abrasive cleaners, which damage the foil coating and the polymer parts.
None of these mistakes is dramatic on any single day, but over three months they create the dull, pulling shave that most people blame on age.
When to Replace the Shaver Head and Blades
No amount of cleaning restores a blade edge that has physically worn away. As a general rule, replace the foil and cutter set every 12 to 18 months of regular use. The warning signs are a shaver that pulls hair even right after cleaning, a visibly dented or flattened foil, longer shave times, and skin that becomes redder after each pass.
Replacing the head is far cheaper than replacing the whole shaver and restores the original cutting geometry. For washable foil shavers, a drop-in SF1006T replacement head is the simplest way to get back to factory performance without changing the handle, battery, or motor.
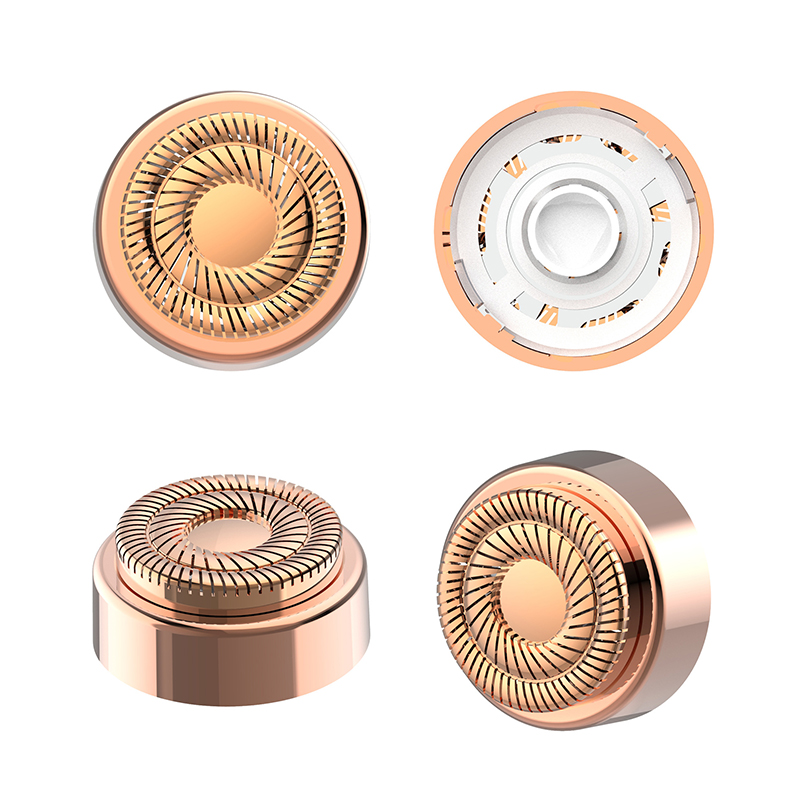 Custom Washable shaver replacement head, electric shaver accessory head (SF-1006As a China Washable shaver replacement head, electric shaver accessory head (SF-1006) suppliers and Washable shaver replacement head, ele...View Product →
A good cleaning routine has a simple measure: the shaver should feel as sharp on day 90 as it did on day one. Brush out hair after every use, deep-clean weekly, dry the parts thoroughly, lubricate the blades, and change the head when dullness appears. For anyone buying shavers in bulk or building a private label, designs with sealed electronics, corrosion-resistant blades, and readily available replacement heads reduce that maintenance burden before the first shave ever happens.