English
  日本語
日本語
 Español
 Deutsch



Content
- Why Your Shaving Technique Matters More Than the Device
- Step 1: Know the Parts of Your Electric Shaver Trimmer
- Step 2: Prepare Your Skin and Beard Correctly
- Step 3: Trim First for Long Hair, Sideburns, and Detail Zones
- Step 4: Shave with the Shaver Head — Angle, Pressure, and Movement
- Step 5: Clean and Maintain Your Device After Every Use
- Step 6: Extra Tips for a Close, Irritation-Free Shave
- Conclusion: Master the Order, Master the Shave
Why Your Shaving Technique Matters More Than the Device
If you recently switched from a manual razor to an electric shaver with a built-in trimmer, your first shave may not have felt as clean as you expected. That is normal. An electric shaver trimmer cuts hair with a different mechanism than a blade, and the technique you use determines how close the result is and how much irritation you feel.
The most important rule to remember is that the trimmer and the shaver head do two different jobs. The trimmer handles longer hair, sideburns, mustache lines, and detail zones. The shaver head handles the short stubble left behind and delivers the close, comfortable finish. Use them in the right order, with the right angle and pressure, and the most common complaints, such as patchy results, red skin, and tugging, largely disappear.
Also set realistic expectations for the first few weeks. If you are used to manual razors, your skin may need two to four weeks to adapt to electric shaving. Judge your device only after you have followed the full routine below, not after the first shave.
Step 1: Know the Parts of Your Electric Shaver Trimmer
Before you put anything on your face, identify the two cutting systems on your device.
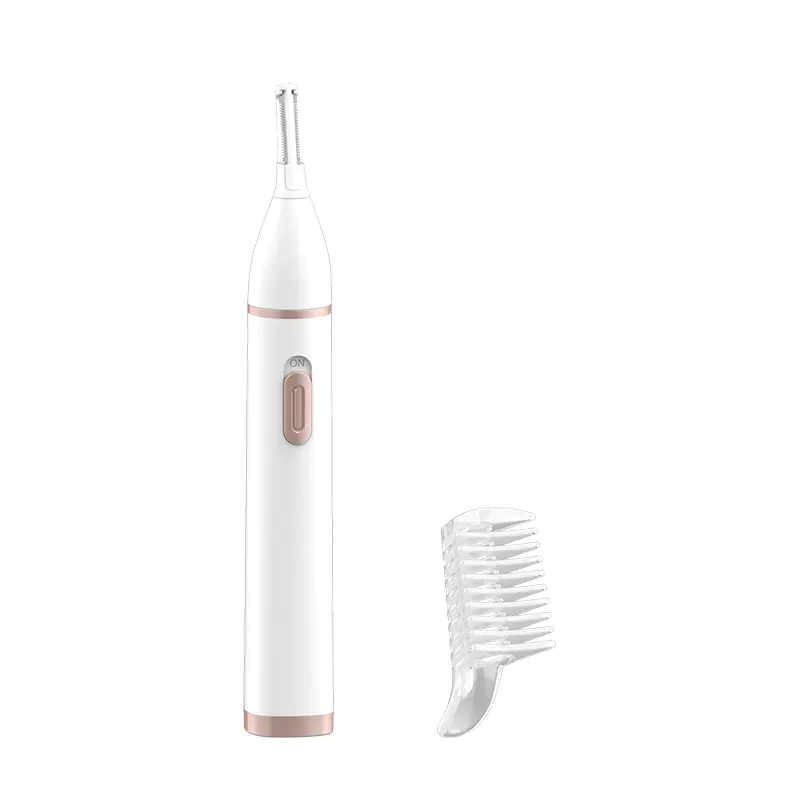
The trimmer is the narrower blade assembly, usually with exposed metal teeth or a sliding comb guard. It is designed for longer hair and precise line work: beards, sideburns, mustache edges, and even nose or ear hair on multifunctional models. Because the teeth are exposed, the trimmer needs a slightly firmer hand and works best with straight, controlled strokes.
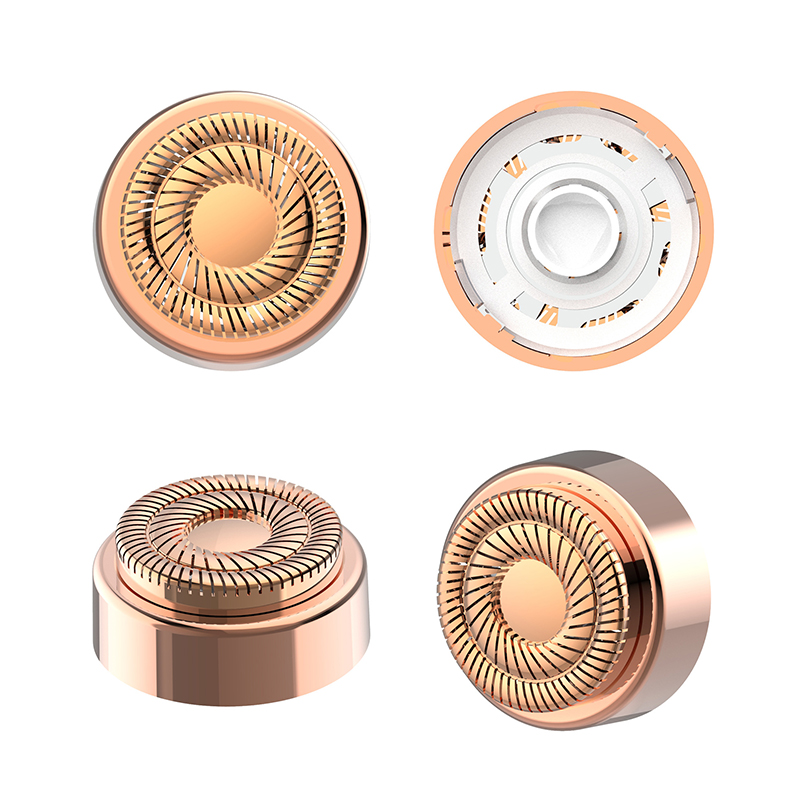
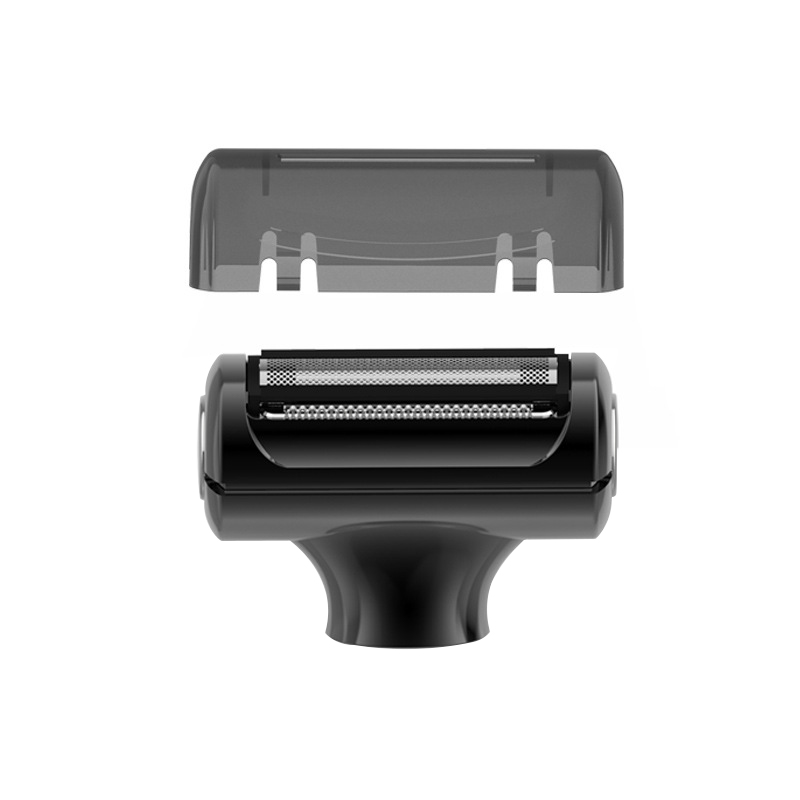
The shaver head is the wider foil or rotary cutting surface. It sits flat against the skin and is built for short stubble, which is why the closest results only come after you have shortened the hair with the trimmer first. Unlike the trimmer, the shaver head wants light pressure and slower, more deliberate movement.
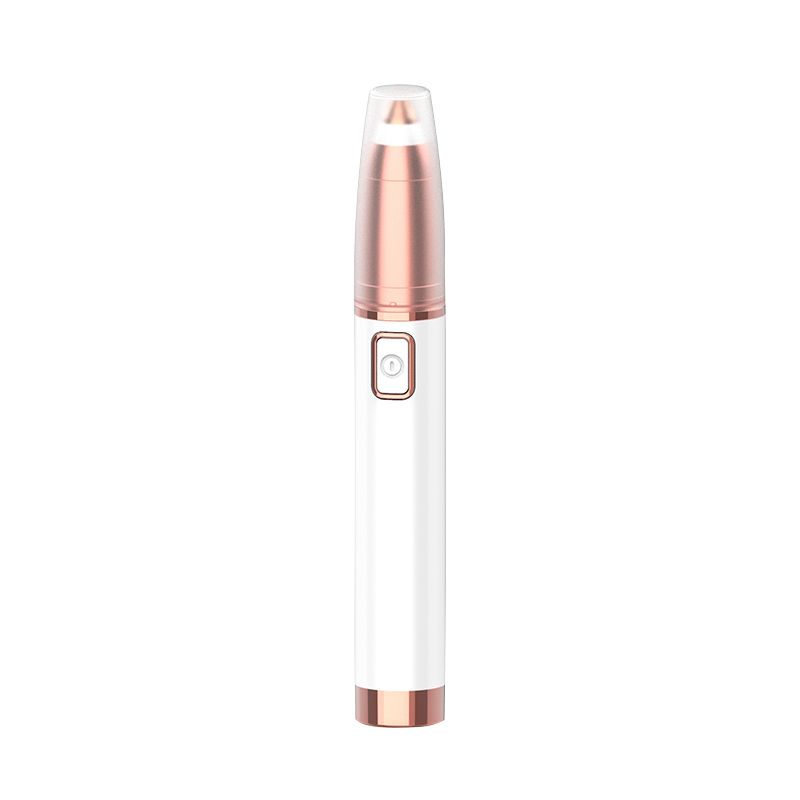
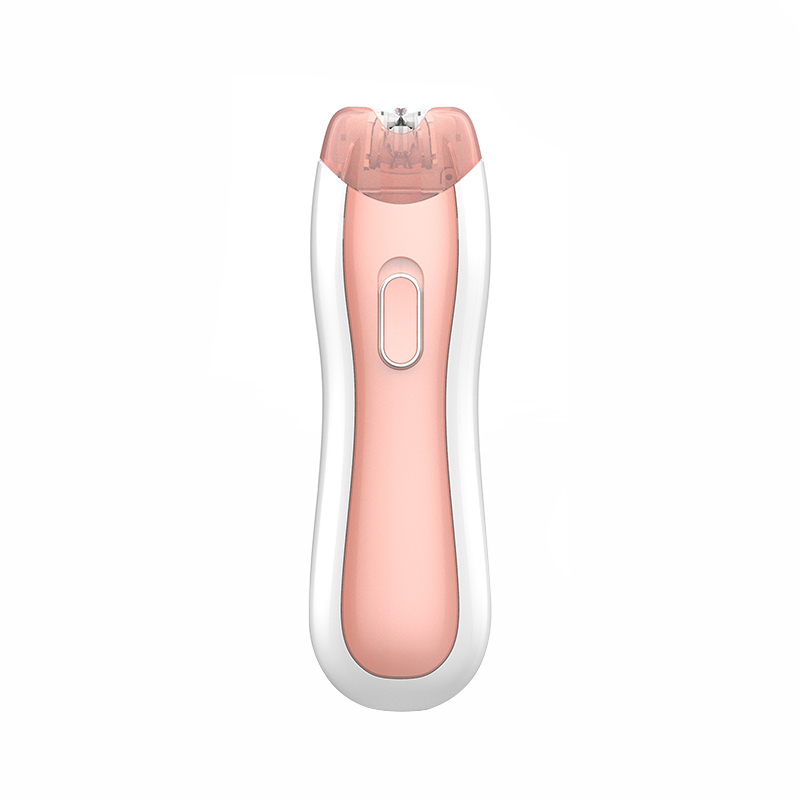
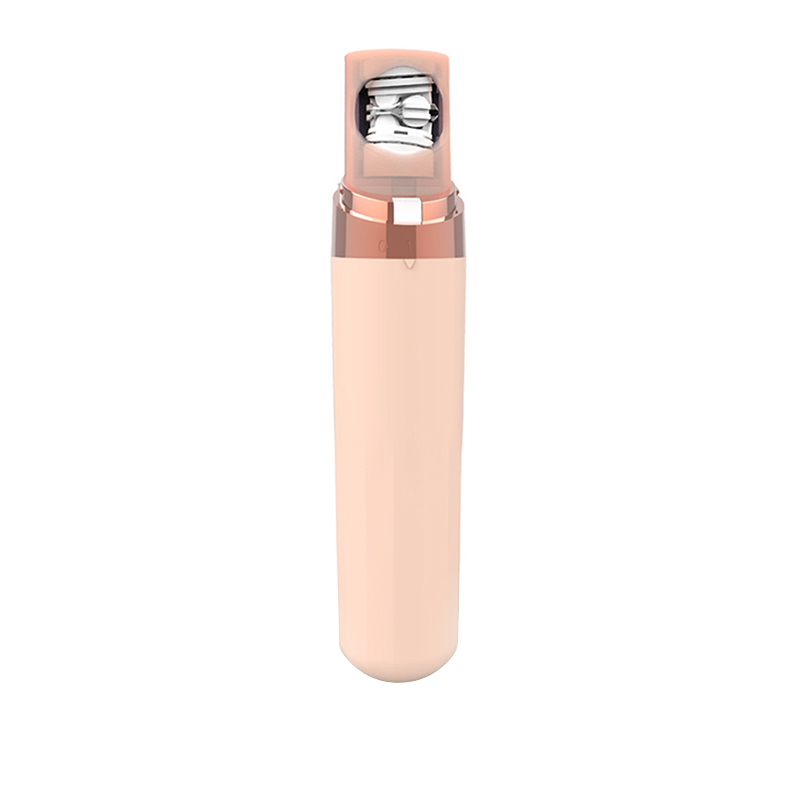
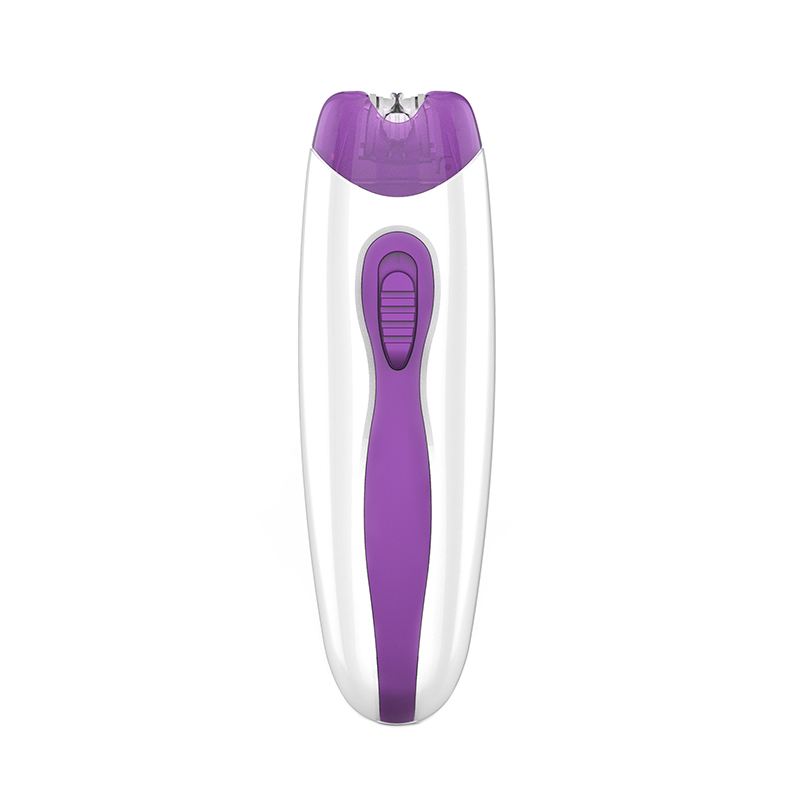
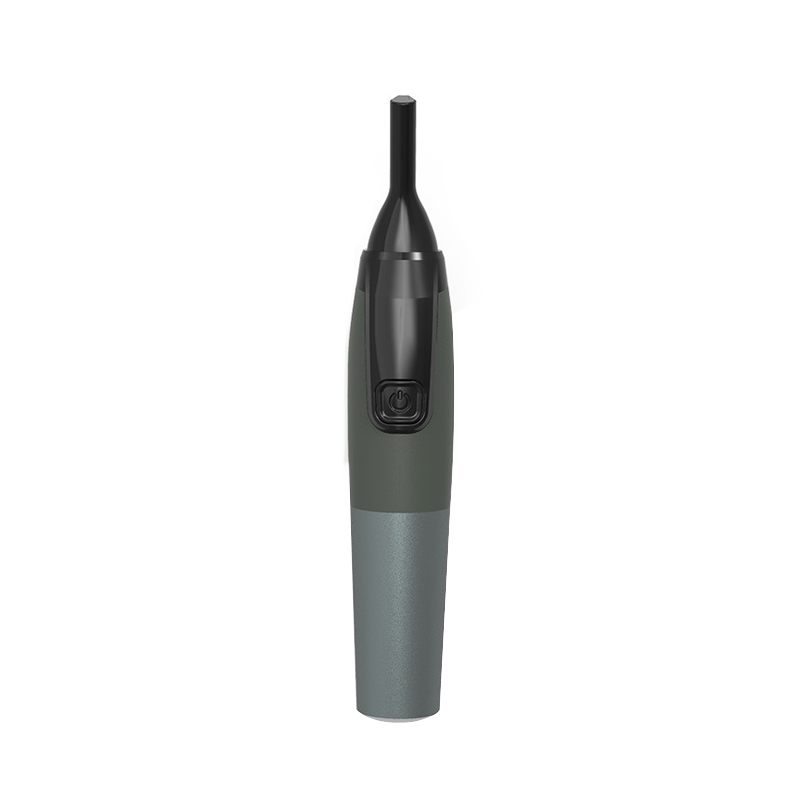
Many modern devices combine several tools in one body. A 4-in-1 electric shaver that combines a trimmer, eyebrow trimmer, and nose hair trimmer lets you manage every facial hair zone with a single device, but each attachment follows the same logic: trim long growth first, then finish with the shaver head.
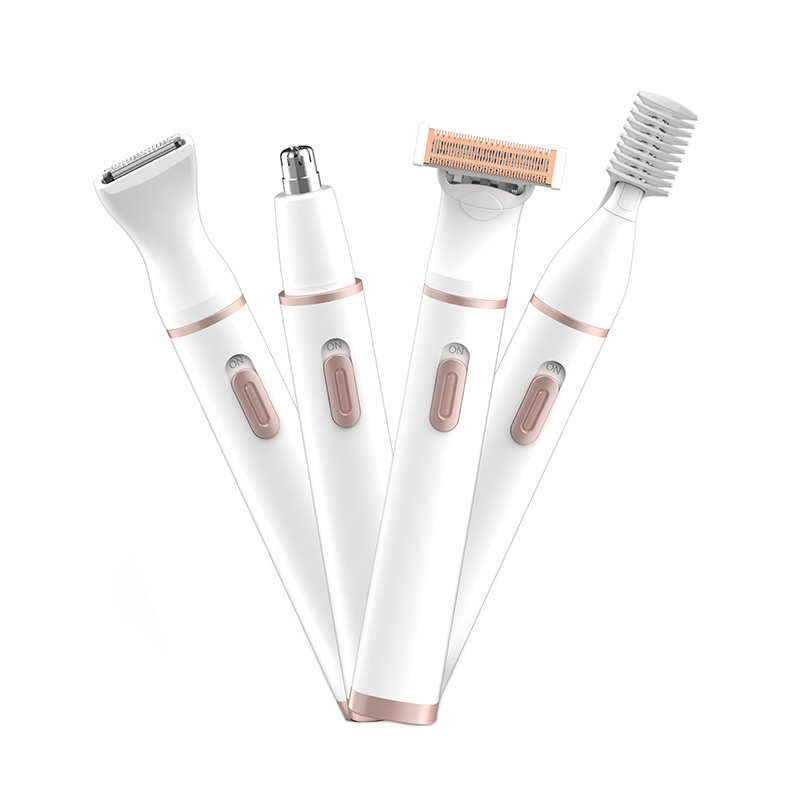 Custom Four-in-one multifunctional electric shaver, eyebrow trimmer, nose hair tAs a China Four-in-one multifunctional electric shaver, eyebrow trimmer, nose hair trimmer and epilator (SF-1007) suppliers and Four-in-o...View Product →
Step 2: Prepare Your Skin and Beard Correctly
Preparation depends on whether you plan to shave dry or wet, and that choice should match what your device is designed to handle.
For dry shaving, do not wash your face immediately before you start. Washing causes the skin to swell slightly and makes it more sensitive, so the shaver has to work against a less even surface. Shave a dry face first, then wash afterwards. A quick splash of cold water before you begin can tighten the skin and make the hairs stand up slightly, which helps the shaver head pick up short stubble more effectively.
For wet shaving, the situation is different. Warm water softens the hair and lather reduces friction, which many people find more comfortable. But wet shaving is only an option if your device is explicitly marked washable or waterproof. Using a non-washable electric shaver under running water or with foam can damage the motor and the foil. If your model does not state that it is washable, stick to dry shaving.
If your beard is longer than about three to five millimeters, for example after a few days without shaving, do not point the shaver head at it directly. Long hairs will clog the blades and pull. This is exactly the situation where the trimmer becomes the first step.
Step 3: Trim First for Long Hair, Sideburns, and Detail Zones
The trimmer is not an optional attachment; it is the correct first tool for any hair longer than a few millimeters. Here is how to use it properly.
Start with the Longest Guard Setting
Attach the comb guard and start at the longest setting you think you need. This is the safest way to avoid cutting off more than you intended. Pass the trimmer over the area in the direction of hair growth first, which removes most of the length without pulling. Then, if you want a shorter result, drop to the next guard setting and repeat. Never start at the shortest setting on a long beard, because the guard will press the hair flat against the skin and the trimmer will cut unevenly.
Trim Against the Grain Only for Final Refinements
Once the bulk is reduced, you can go against the direction of growth in short passes to level out any remaining uneven patches. Keep the guard flat against the skin at all times. A common beginner mistake is to tilt the trimmer so only one edge touches the skin, which creates visible lines and can cause irritation.
Sideburns and Neck Line
For a clean sideburn edge, use the narrow side of the trimmer without the guard. Hold the trimmer vertically, with the blade perpendicular to the skin, and move it downward in one steady pass. The same technique defines the neck line: tilt your head back, stretch the skin with your free hand, and cut a straight horizontal line just above the Adam's apple.
Upper Lip and Chin
The upper lip is the easiest area to nick, so take extra care. Stretch the skin by pulling your upper lip down over your teeth, then touch the trimmer to the skin at a shallow angle of about 15 to 30 degrees. Use short, light strokes from the center of the lip outward. Do not push the trimmer straight into the skin, because the exposed teeth will irritate the sensitive area under your nose. On the chin, where the skin is uneven and hair grows in different directions, stretch the skin flat with your free hand and work in slow, short passes until the surface feels even.
Step 4: Shave with the Shaver Head — Angle, Pressure, and Movement
Now that your beard is short and even, the shaver head can do its job. Why does it need a different technique than the trimmer? Because the foil or rotary blades sit beneath a protective screen and only catch hairs that pass just above the surface. This is where how different blade designs affect your skin during shaving becomes relevant: the design determines how much pressure and movement your skin can tolerate.
Hold the Shaver Head at a Right Angle
Place the shaver head flat against your cheek so the cutting surface sits at roughly 90 degrees to your skin. Then adjust slightly until you hear a consistent cutting sound. That audible feedback, rather than a fixed angle, is your best guide. If the sound changes or the shaver skips, the head is not sitting flat.
Use Light Pressure
This is the most common mistake with electric shavers: pressing harder to get a closer shave. It does not work. The blades can only cut hair that reaches through the foil, and pressing harder simply flattens the skin and pushes the hair down, so the result is actually less close and far more irritated. Let the weight of the shaver do the work.
Move Against the Grain, Then Finish With the Grain
For the closest result, make short strokes or slow circular movements against the direction of hair growth. On the neck and jawline, use your other hand to stretch the skin so the surface is flat. After the first pass, do a second pass with the grain to catch stray hairs and calm the skin. Avoid going over the same spot more than twice, because repeated passes are the main cause of red bumps.
Step 5: Clean and Maintain Your Device After Every Use
An electric shaver trimmer only performs well when the blades are clean and free of hair, oil, and dead skin. Maintenance also directly affects how often you need to replace parts, so treat it as part of the shaving routine, not an occasional chore.
After Every Use: Brush Out the Hair
Switch the device off. Remove the shaver head and the trimmer guard if they detach, and use the small brush that came with the device to sweep hair clippings out of the blades and foil. Pay special attention to the gap between the foil and the cutter, where hair tends to pack tightly.
If Your Model Is Washable: Rinse and Air Dry
For a washable electric shaver designed for easy rinsing, run the detached head under lukewarm water for a few seconds to remove the last residue, shake off the excess water, and leave the parts to dry completely in a well-ventilated spot. Do not use a hairdryer or place the parts on a radiator; heat warps the foils and reduces cutting quality.
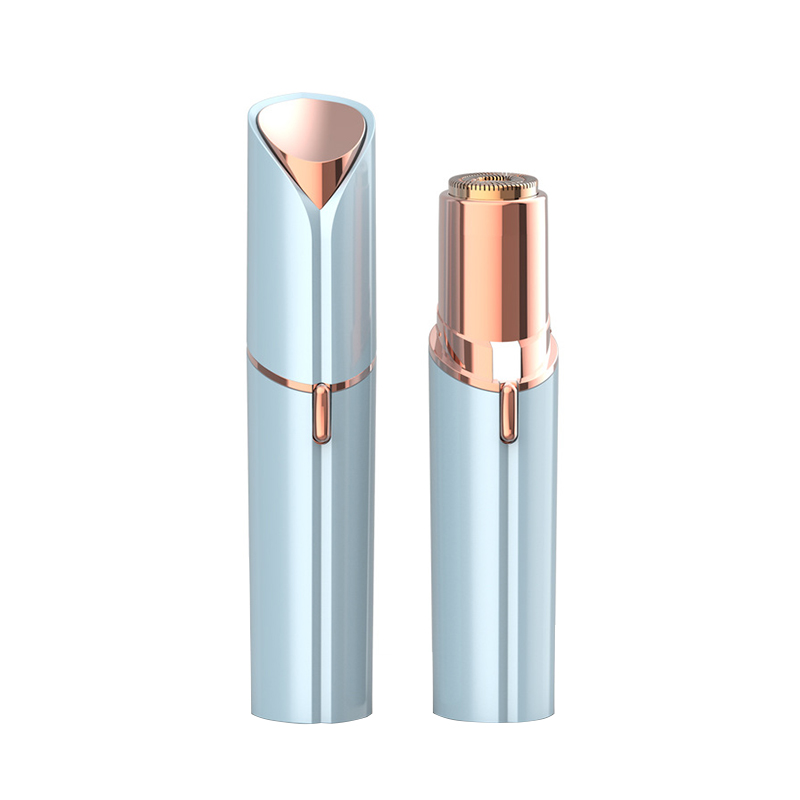 Custom Washable silent electric shaver (SF-1106) Suppliers, OEM/ODM Factory - YuAs a China Washable silent electric shaver (SF-1106) suppliers and Washable silent electric shaver (SF-1106) factory, Yuyao Aisen Electri...View Product →
If your model is not marked washable, never run water over it. The brush is your only cleaning tool. Many motors and battery compartments are not sealed, and moisture will damage them from the inside.
Weekly: Lubricate the Blades
Once or twice a week, put a single drop of shaver oil or light sewing machine oil on the trimmer teeth and between the foil and cutter. Switch the device on for about ten seconds so the oil spreads, then wipe off any excess with a dry cloth. Lubrication reduces friction, keeps the blades sharp longer, and lowers the chance of skin irritation. For a deeper reference, read our complete electric shaver cleaning and maintenance guide.
Follow a Replacement Schedule
Shaver heads are consumable parts. Plan to replace them every 12 to 18 months, or sooner if the shave becomes noticeably less close, the foil shows visible dents, or the trimmer starts chewing hair instead of cutting it. If you also notice the battery lasting noticeably shorter than before, that is a separate signal that the device needs attention.
| Task | Frequency | What to do |
|---|---|---|
| Brush out hair clippings | After every use | Remove head and guard, sweep all debris from blades and foil. |
| Rinse washable head | Every 3 to 5 uses | Rinse under lukewarm water, shake off excess, air dry completely. |
| Lubricate blades | Every 1 to 2 weeks | Add one drop of shaver oil, run for 10 seconds, wipe off excess. |
| Replace shaver head | Every 12 to 18 months | Replace when shave quality drops or foil shows dents. |
Step 6: Extra Tips for a Close, Irritation-Free Shave
Beyond the core steps, a few habits separate a comfortable shave from one that leaves your skin raw.
- Do not shave on a low battery. When the motor slows down, the blades move too slowly to cut cleanly, which causes tugging and uneven results. The connection between cutting performance and power is direct: how blade sharpness and battery durability affect shaving performance explains why you should keep the device charged for consistent shaves.
- Use a pre-shave lotion or toner. A light pre-shave product on dry skin reduces friction and helps the shaver head glide. Avoid heavy creams, which clog the foil.
- Apply a non-alcoholic balm afterwards. Alcohol-based aftershaves sting and dry out the skin, especially during the first weeks of electric shaving. A gentle balm or aloe gel calms the skin. For more detail, see our post-shave skin care tips to reduce irritation.
- If you have sensitive skin, shave every other day. Daily electric shaving, even with good technique, can overwhelm easily irritated skin. Shaving every other day gives the skin time to recover while your beard stays short enough for the shaver head to handle with ease.
- Accept the adaptation period. During the first two to four weeks, your skin adjusts to a completely different cutting mechanism. Minor redness and a slightly less close shave are normal. Most people see clear improvement after the third or fourth week.
- Protect the head when traveling. A compact and portable electric shaver ideal for travel
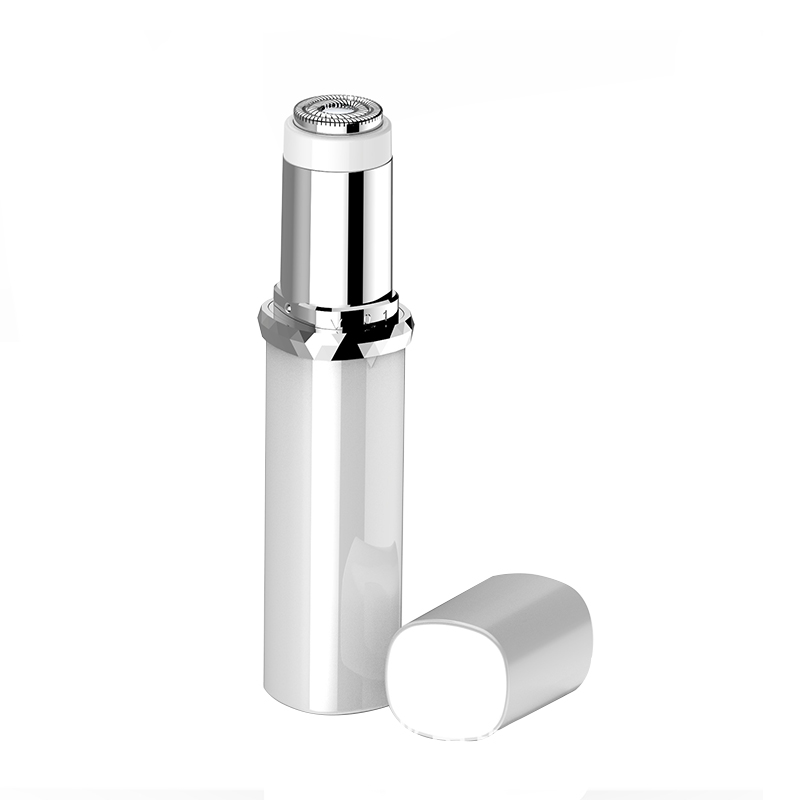 Custom Men's Mini Portable Shaver (SF-1005) Suppliers, OEM/ODM Factory - Yuyao AAs a China Men's Mini Portable Shaver (SF-1005) suppliers and Men's Mini Portable Shaver (SF-1005) factory, Yuyao Aisen Electric Applianc...View Product → often comes with a protective cap; always put the cap on before packing. Loose shaver heads in a bag are a common reason for damaged foils.
Conclusion: Master the Order, Master the Shave
Every uncomfortable electric shave can usually be traced back to a broken sequence: skipping the trimmer on longer hair, pressing too hard, or shaving over the same area repeatedly. The order matters: prepare, trim, shave, clean, maintain. Each step has a specific purpose.
Start by preparing your skin according to whether you shave dry or wet. Reduce long hair with the trimmer, working from the longest guard setting down to the finest details. Finish with the shaver head at light pressure and a consistent angle. Then clean, lubricate, and store the device so it stays as sharp as the day you bought it.
Choosing the right tool is only half the equation. Using it correctly is what delivers a close, comfortable shave day after day, whether you have a basic trimmer or a multifunctional model.