English
 日本語
日本語
 Español
 Deutsch


The most effective way to sharpen electric shaver blades at home is to use the aluminum foil method or a dedicated blade honing compound, which can restore up to 70% of the original cutting performance without replacing the shaving head. Whether you own a foil shaver or a rotary shaver, dull blades don't always mean it's time to buy replacements — with the right technique and a few minutes of effort, you can significantly extend blade life, save $20–$60 per replacement cycle, and enjoy a closer, more comfortable shave. This guide covers every method, comparison, and tip you need.
Content
- Why Electric Shaver Blades Go Dull and When to Sharpen Them
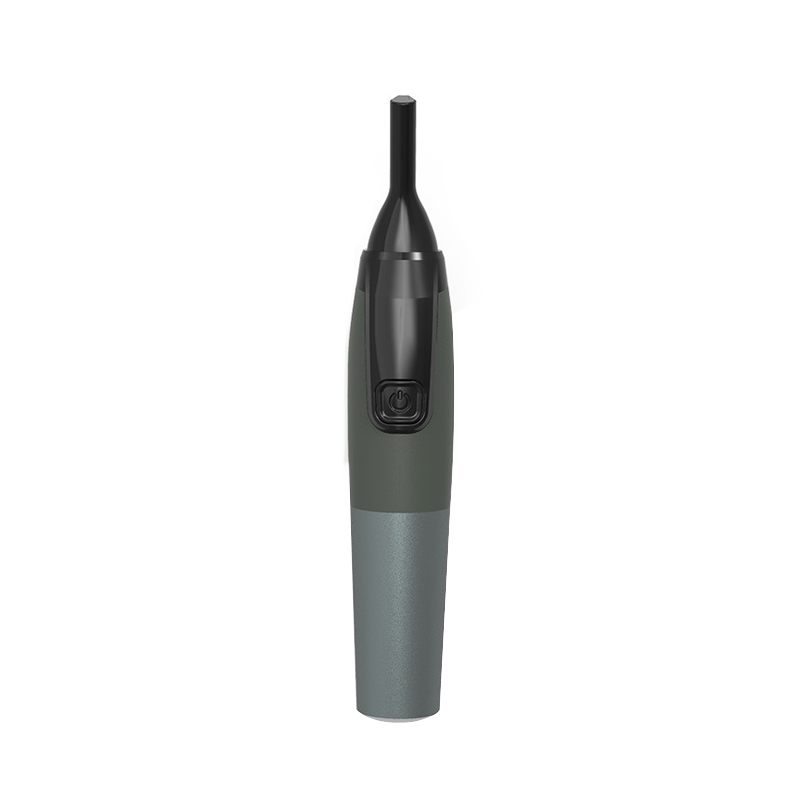
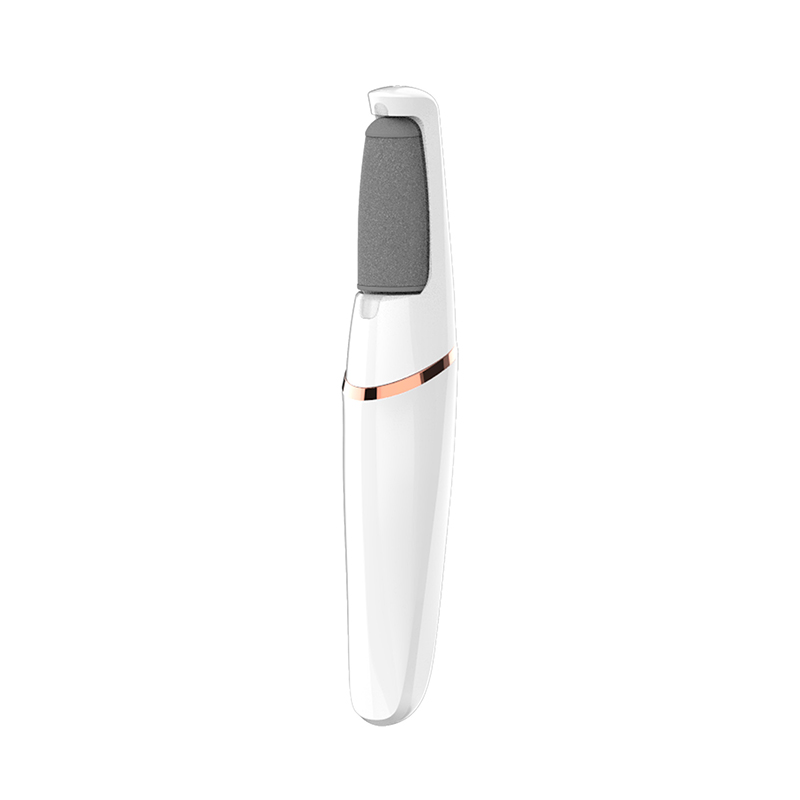
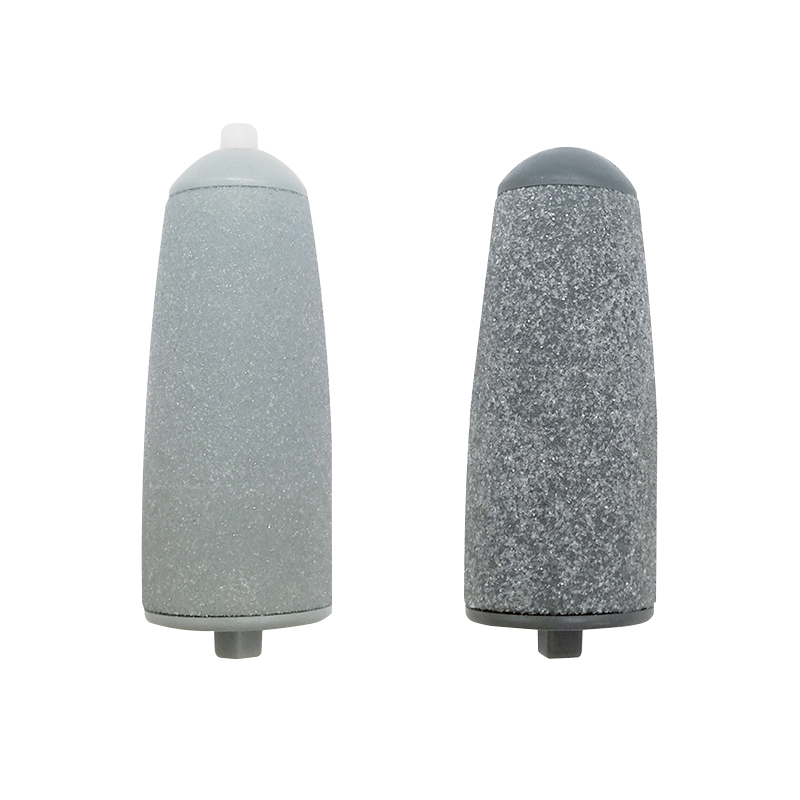
- Understanding Electric Shaver Blade Types Before You Sharpen
- 4 Proven Methods to Sharpen Electric Shaver Blades at Home
- Comparing All Four Electric Shaver Blade Sharpening Methods
- Should You Sharpen or Replace Your Electric Shaver Blades?
- The Role of Cleaning and Lubrication in Electric Shaver Blade Performance
- Common Mistakes to Avoid When Sharpening Electric Shaver Blades
- Frequently Asked Questions: How to Sharpen Electric Shaver Blades
- Can all electric shaver blades be sharpened, or only certain types?
- How many times can you sharpen electric shaver blades before replacing them?
- Does the aluminum foil method actually work, or is it a myth?
- What is the best lubricant to use on electric shaver blades after sharpening?
- Is it worth sharpening electric shaver blades, or is it better to just replace them?
- Can I sharpen electric shaver blades with toothpaste?
- Quick Reference: How to Sharpen Electric Shaver Blades
Why Electric Shaver Blades Go Dull and When to Sharpen Them
Electric shaver blades dull primarily due to microscopic metal fatigue, oxidation, and the accumulation of hardened skin protein and mineral deposits from water — not just mechanical wear. Most manufacturers recommend replacing shaving heads every 12–18 months, but with regular sharpening and proper maintenance, many users extend head life to 24–30 months without any noticeable drop in shave quality.
The following signs indicate your electric shaver blades need sharpening rather than replacement:
- Tugging or pulling sensation: A sharp blade cuts hair cleanly; a dull blade bends the hair before cutting it, causing a pulling feeling on the skin.
- Redness and irritation after shaving: Dull blades require more passes over the skin, increasing friction and leading to razor burn or ingrown hairs.
- Longer shaving time: If a shave that used to take 3 minutes now takes 5–6 minutes, the blades are losing cutting efficiency.
- Patches of missed hair: Dull blades skip over stubble rather than cutting it, leaving uneven results especially on the neck and jaw line.
- Increased noise or vibration: A shaver working harder to compensate for dull blades often runs noticeably louder.
If you experience two or more of these symptoms, attempt sharpening before spending money on a replacement head. In many cases, the blades simply need a quick honing rather than full replacement.
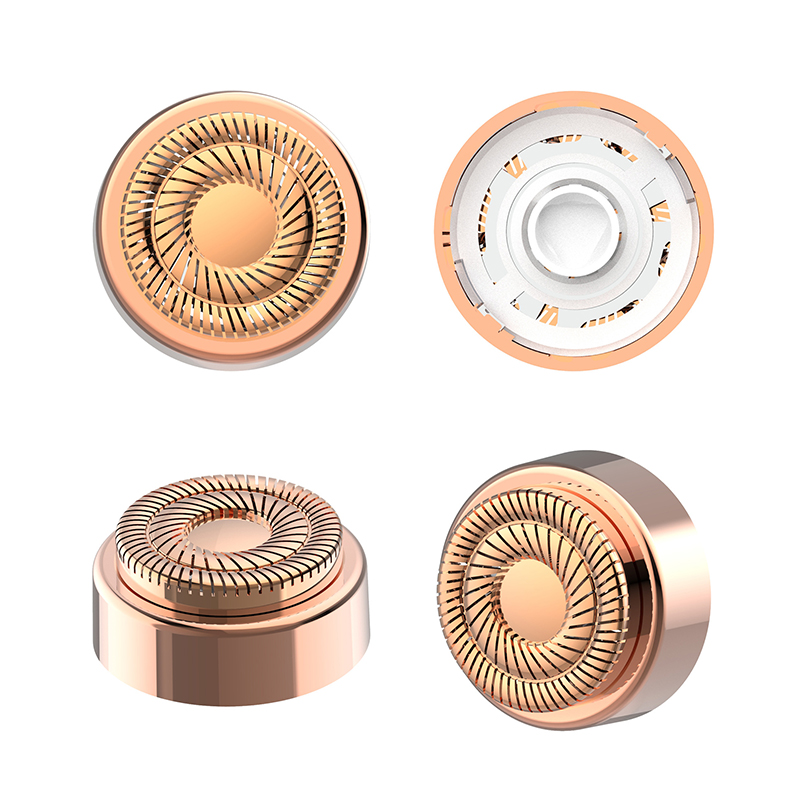
Understanding Electric Shaver Blade Types Before You Sharpen
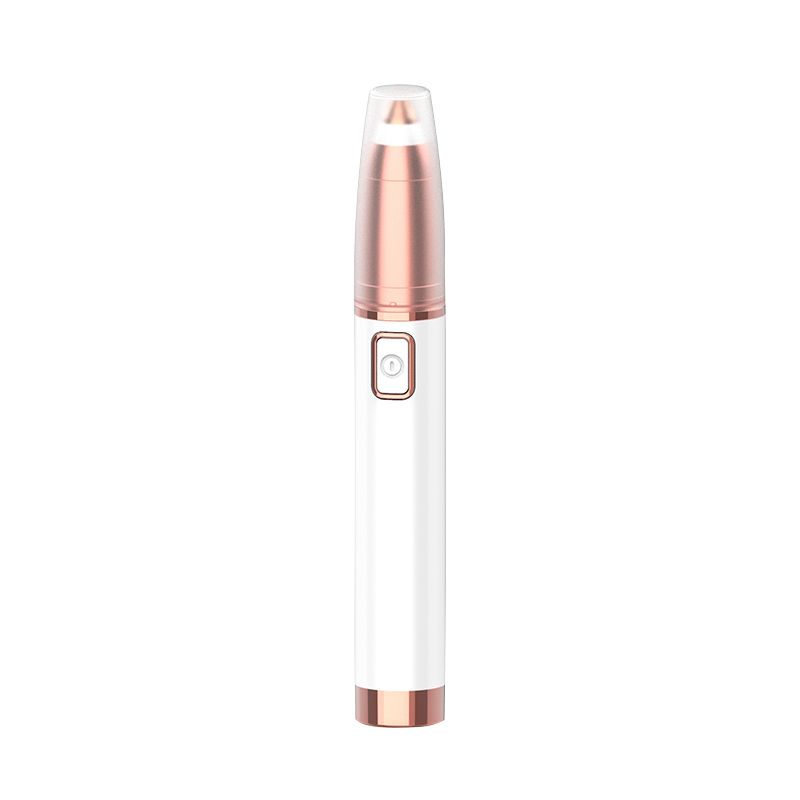
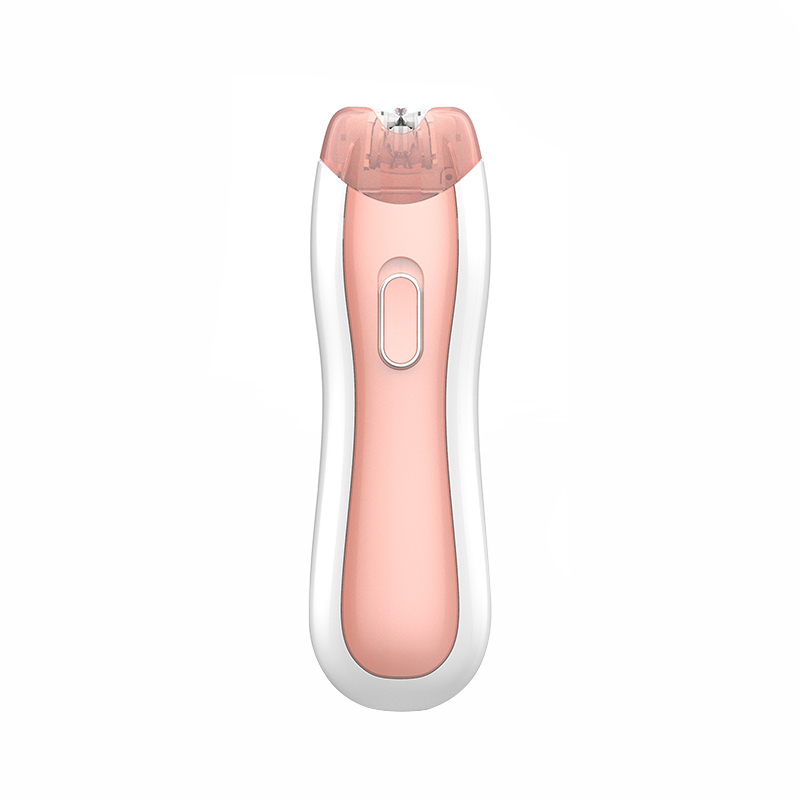
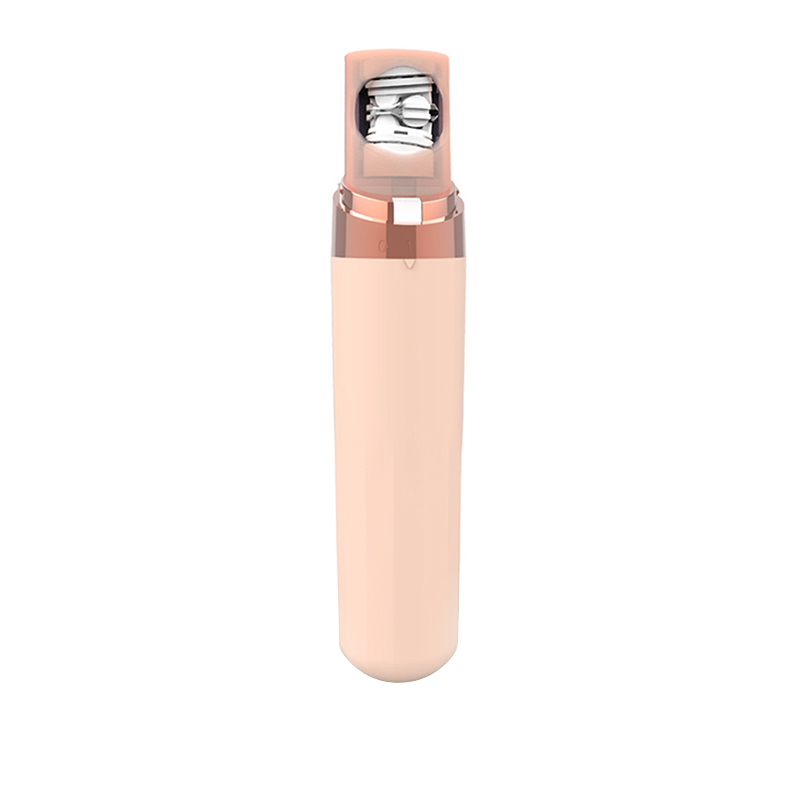
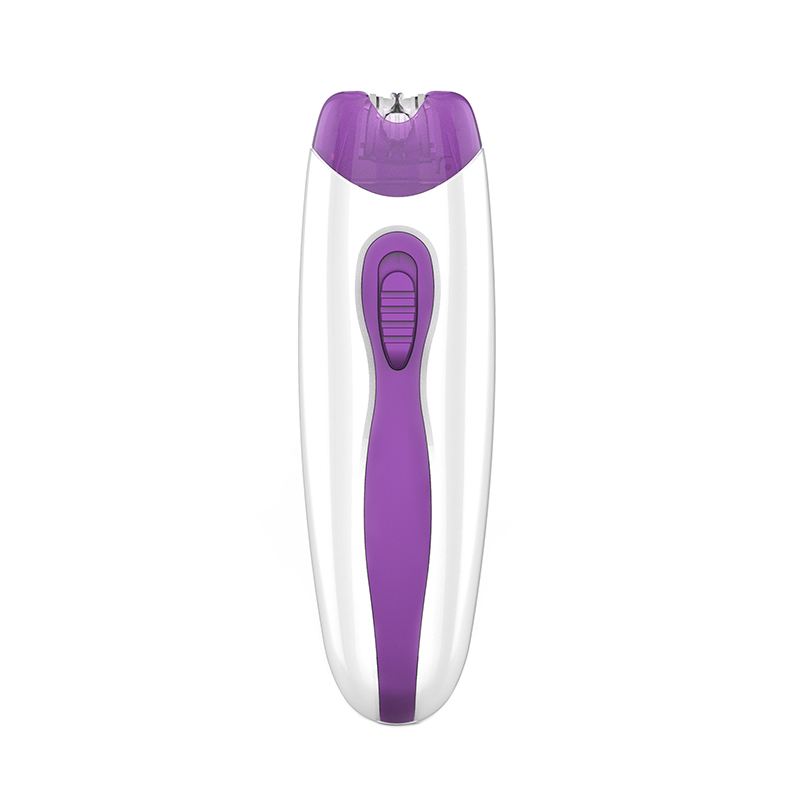
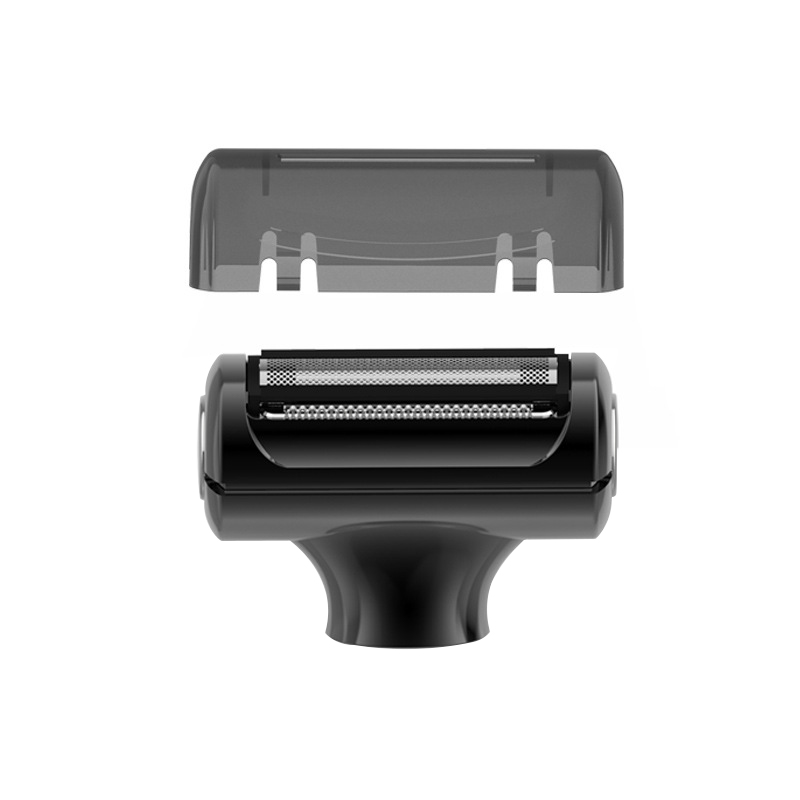
The two main types of electric shaver blades — foil and rotary — require different sharpening approaches, so identifying your shaver type is the essential first step.
| Feature | Foil Shaver | Rotary Shaver |
|---|---|---|
| Blade design | Straight oscillating blades beneath a perforated metal foil | Circular spinning blades under round guard heads |
| Number of cutting units | Typically 2–5 foil strips | Typically 3 rotary heads |
| Best sharpening method | Aluminum foil lap method; honing paste | Honing compound; diamond paste; self-lapping |
| Ease of DIY sharpening | Moderate | Easy (self-lapping technique) |
| Replacement cost (head only) | $20–$60 | $25–$55 |
| Sharpening frequency recommended | Every 6–8 months | Every 4–6 months |
Table 1: Key differences between foil and rotary electric shaver blades, including design, sharpening method, and cost considerations.
4 Proven Methods to Sharpen Electric Shaver Blades at Home
There are four reliable DIY methods to sharpen electric shaver blades, ranging from completely free household techniques to low-cost specialist compounds — each suited to different blade types and levels of dulling.
Method 1 — The Aluminum Foil Lapping Method (Best for Foil Shavers)
The aluminum foil method is the most widely used free technique for sharpening foil shaver blades and works by using the foil as a micro-abrasive lap surface to re-hone the blade edges. Ordinary kitchen aluminum foil has a surface roughness of approximately 0.2–0.5 microns — fine enough to polish and realign the micro-serrations on electric shaver blades without removing significant metal.
What you need:
- A sheet of standard kitchen aluminum foil (heavy-duty works best)
- A flat, firm surface (cutting board or glass plate)
- Your electric shaver with the foil guard removed
Step-by-step instructions:
- Clean the blades thoroughly first. Remove the shaving head and rinse the cutter block under warm running water. Use the cleaning brush that came with your shaver to remove all hair stubble and skin debris. Allow to dry completely before proceeding — moisture on the blade during lapping can cause uneven results.
- Lay a double-folded sheet of aluminum foil flat on a firm surface. Fold the foil in half once so you have a double layer — this gives it enough stiffness to work as a lapping surface without tearing.
- Turn the shaver on and move it across the foil in a straight back-and-forth motion. Apply light, consistent downward pressure. Move the shaver across the foil for 3–5 minutes using the same motion you would use when shaving. The foil acts as a fine abrasive that microscopically re-grinds and realigns the cutting edges.
- Rotate the shaver 90 degrees and repeat. Sharpening from two perpendicular directions ensures even honing across the full width of the blade.
- Clean the blade block again after sharpening. Remove all foil particles with the cleaning brush and a rinse under warm water. Apply a single drop of light mineral oil or clipper oil to the blade before reassembly to maintain edge quality.
- Reassemble and test. Run the shaver on your arm hair or perform a test shave. Most users notice an immediate improvement in cutting smoothness after just one session.
Note: this method works best on the inner cutter blades. It does not sharpen the outer foil guard itself. If the foil guard has holes or tears, it must be replaced — no sharpening method can repair a damaged foil screen.
Method 2 — The Self-Lapping Technique (Best for Rotary Shavers)
The self-lapping technique uses a fine abrasive paste applied between the rotary blade and its guard head, allowing the shaver's own motor to hone both surfaces simultaneously as they rotate against each other. This method is uniquely well-suited to rotary shavers because the circular motion of the blade creates an even, consistent honing action around the full circumference of each cutting edge.
What you need:
- Honing paste or valve grinding compound (fine grade, 400–600 grit equivalent)
- A small flat brush or cotton swab for application
- Warm water and cleaning brush for rinse-out
Step-by-step instructions:
- Remove and clean each rotary head. Pop out each of the three rotary cutting units (blade + guard) and rinse them clean. Keep each blade with its matching guard — mixing them up will create uneven wear patterns as they have already lapped to fit each other.
- Apply a tiny amount of honing paste to the guard's inner cutting surface. A pea-sized amount per head is sufficient — too much paste will clog the cutting slots rather than sharpen the edge. Spread it evenly with a brush or cotton swab.
- Reassemble the heads and run the shaver for 60 seconds. The motor drives the blade against the paste-coated guard surface, creating a precision honing action. You will hear a slightly rougher sound than normal — this is expected.
- Disassemble and rinse all paste out completely. Use warm running water and the cleaning brush to flush every trace of abrasive from the heads. Any residual grit left in the shaver will act as a contaminant during use and cause accelerated wear.
- Apply one drop of lubricating oil per head and reassemble. Clipper oil or a specialist shaver lubricant protects the freshly honed edges and improves cutting performance immediately.
Method 3 — Diamond Paste Honing (Best for Severely Dull Blades)
Diamond lapping paste is the most aggressive DIY sharpening method and is reserved for blades that have become severely dull after extended use without any maintenance. Diamond paste uses synthetic diamond abrasive particles suspended in a water-soluble carrier — at 1,200–3,000 grit, it can restore a genuinely worn cutting edge where aluminum foil or standard honing compound would have little effect. A small 5g tube costs $4–$8 and lasts for dozens of sharpening sessions.
The application process mirrors the self-lapping method above, but uses diamond paste in place of valve compound. Because diamond paste is considerably more abrasive, limit the running time to 30 seconds per session and rinse extremely thoroughly. Use this method no more than once every 12 months on any given shaving head to avoid over-grinding the blade geometry.
Method 4 — Leather Strop Finishing (Best as a Regular Maintenance Step)
Stropping the inner cutter blades on a piece of smooth leather is the fastest and gentlest sharpening method and works best as a monthly maintenance habit rather than a once-a-year rescue treatment. Leather stropping realigns and polishes the microscopic wire edge that forms on blades during use, without removing any significant metal — the same principle used on straight razors and kitchen knives.
Lay a smooth piece of vegetable-tanned leather (a leather belt works well) on a flat surface. With the shaver running, draw the exposed cutter block across the leather in a slow, forward-only stroke 10–15 times. This takes under 2 minutes and, done monthly, can delay the need for any more intensive sharpening method by several additional months.
Comparing All Four Electric Shaver Blade Sharpening Methods
Choosing the right sharpening method depends on your shaver type, the severity of dulling, and how much time and money you want to invest — the table below lays out all four options side by side.
| Method | Best Shaver Type | Abrasiveness | Time Required | Cost | Skill Level | Use Frequency |
|---|---|---|---|---|---|---|
| Aluminum Foil | Foil shaver | Very low | 5–8 minutes | Free | Beginner | Every 2–3 months |
| Self-Lapping (Honing Paste) | Rotary shaver | Low–medium | 10–15 minutes | $3–$8 | Beginner | Every 4–6 months |
| Diamond Paste Honing | Both types | High | 5–10 minutes | $4–$10 | Intermediate | Once per year max |
| Leather Strop | Both types | Negligible | 1–2 minutes | Free (leather belt) | Beginner | Monthly |
Table 2: Side-by-side comparison of four DIY electric shaver blade sharpening methods, rated by shaver compatibility, abrasiveness, time, cost, and recommended frequency.
Should You Sharpen or Replace Your Electric Shaver Blades?
Sharpening is the right choice for blades that have dulled gradually from regular use; replacement is necessary when the blade or foil guard has physical damage, corrosion, or has been sharpened multiple times without lasting improvement.
| Condition | Sharpen | Replace |
|---|---|---|
| Blade feels dull but has no visible damage | Yes | No |
| Foil guard has holes, tears, or dents | No | Yes |
| Blades show rust spots or corrosion | No | Yes |
| Shaver is less than 12 months old and pulls | Yes | No |
| Shaver is over 3 years old and has been sharpened 3+ times | Unlikely to help | Yes |
| Rotary blade cutter teeth are chipped or broken | No | Yes |
| Performance improved after previous sharpening | Yes | No |
Table 3: Decision guide to help determine whether to sharpen or replace electric shaver blades based on blade condition and shaver history.
The Role of Cleaning and Lubrication in Electric Shaver Blade Performance
Proper cleaning and regular lubrication can restore up to 40% of lost cutting performance on their own, and always precede and follow any sharpening session for best results. Many shavers that appear dull are actually clogged — microscopic hair fragments and skin cell buildup packed between blade teeth create friction that mimics the feel of a dull blade.
Daily Cleaning Routine (2 Minutes)
Tap the shaving head firmly against your palm 3–4 times after each shave to dislodge loose hair, then use the provided cleaning brush to sweep the blade block. For wet-and-dry shavers, a quick rinse under warm running water while the motor runs flushes hair and skin debris from between the blades.
Weekly Deep Cleaning (5 Minutes)
Disassemble the cutting head fully once a week and soak all metal parts in warm water mixed with a few drops of liquid soap for 2–3 minutes. Use the cleaning brush to scrub each component, then rinse thoroughly and allow to air dry completely before reassembly. Trapped moisture is the primary cause of premature blade oxidation — always ensure parts are fully dry.
Lubrication After Every Clean
Apply a single drop of light machine oil, clipper oil, or sewing machine oil to the blade surface before every reassembly. This creates a micro-thin protective film that reduces metal-on-metal friction, prevents oxidation, and can extend the interval between necessary sharpening sessions by up to 30%. Never use cooking oils, WD-40, or thick greases — these either go rancid, attract debris, or are too viscous to penetrate the blade gaps effectively.
Common Mistakes to Avoid When Sharpening Electric Shaver Blades
Most sharpening failures come from a handful of avoidable errors that damage the blade geometry or introduce contaminants into the cutting system.
- Mixing up rotary head components: Each rotary blade self-laps to its specific guard over time. Swapping blades between head positions creates mismatched tolerances that worsen cutting performance and increase noise. Always mark each head before disassembly or replace them as matched sets.
- Using sandpaper instead of proper abrasives: Standard sandpaper grits (80–220) are far too coarse for shaver blade honing and will grind away blade geometry rather than refining the edge. Only use aluminum foil (very fine grit equivalent) or dedicated lapping compounds.
- Sharpening a damaged foil: Running the shaver on aluminum foil with a torn or perforated outer foil guard will not sharpen the inner blades — it will only worsen the damage to the guard. Inspect the foil screen carefully before attempting any sharpening.
- Over-sharpening with aggressive abrasives: Diamond paste or valve compound used too frequently removes metal and eventually thins the blade to the point where it loses structural integrity. The rule of thumb: use aggressive compounds no more than once per year and light methods no more than once every 2–3 months.
- Skipping the post-sharpen rinse: Residual abrasive particles left on the blade act as contaminants during the next shave, rapidly dulling the freshly honed edge and potentially irritating skin. Always flush all abrasive residue completely.
- Sharpening without cleaning first: Hair debris and skin buildup between the blade teeth prevents the abrasive from making even contact with the cutting edge, resulting in uneven honing. Always deep-clean before sharpening.
Frequently Asked Questions: How to Sharpen Electric Shaver Blades
Can all electric shaver blades be sharpened, or only certain types?
Both foil and rotary electric shaver blades can be sharpened using the appropriate method, but the outer foil guard on foil shavers cannot be sharpened and must be replaced if damaged. The inner cutter blades in both shaver types are made from hardened stainless steel and respond well to honing. The outer foil or guard, however, is a precision-perforated screen that guides hair into the blade — once its geometry is compromised by wear or damage, no sharpening technique will restore it.
How many times can you sharpen electric shaver blades before replacing them?
Most electric shaver blades can be sharpened 3–5 times using light methods (aluminum foil or leather strop) over their lifetime before replacement becomes necessary. Aggressive honing methods such as diamond paste should be used at most once per annual cycle. After 3 or more full sharpening cycles with no lasting performance improvement, the blade has lost sufficient metal that the cutting geometry can no longer be restored — at that point, replacement is the correct choice.
Does the aluminum foil method actually work, or is it a myth?
The aluminum foil method genuinely works for mildly dull foil shaver blades because kitchen foil's surface acts as an ultra-fine lapping medium that polishes and re-aligns the blade edge. It is not a myth — the science is sound. However, its effect is modest: it is best described as a light edge refinement rather than a full sharpening. Users with moderately or heavily dull blades will see limited improvement from foil alone and should use a honing paste for more substantial results. That said, as a free, zero-risk maintenance technique performed every 2–3 months, it measurably extends intervals between replacement head purchases.
What is the best lubricant to use on electric shaver blades after sharpening?
The best lubricants for electric shaver blades after sharpening are light mineral oil, clipper oil, or purpose-formulated shaver oil — all of which penetrate blade gaps and provide corrosion protection without attracting debris. A single drop per cutting head is the correct amount. Avoid olive oil or any vegetable-based oil (they oxidise and go rancid inside the blade housing within days), petroleum jelly (too thick), and spray lubricants containing solvents (they displace existing lubricant rather than adding to it). Many users find that a dedicated clipper blade oil — sold widely for hair clipper maintenance — is the most cost-effective and optimally viscous option for shaver blades.
Is it worth sharpening electric shaver blades, or is it better to just replace them?
For shavers under 18 months old with no physical damage to the guard, sharpening is almost always worth attempting before replacement — it costs little, takes under 15 minutes, and can fully restore shaving performance in most cases. Replacement heads typically cost $25–$60 and need to be replaced again every 12–18 months. Even if sharpening only extends head life by 6 months, that is $12–$30 saved per cycle, compounding over years of ownership. The financial and environmental case for sharpening is strong: it keeps functional metal components in use rather than sending them to landfill prematurely.
Can I sharpen electric shaver blades with toothpaste?
Toothpaste can function as a very mild abrasive lapping compound in a pinch, but it is far less effective than proper honing paste and carries a risk of leaving foaming residue inside the shaver mechanism. Most whitening toothpastes contain hydrated silica abrasive particles at roughly 1,500–2,000 grit — fine enough to produce a mild honing effect on metal surfaces. However, the high water content, surfactants, and flavoring agents make thorough rinsing much harder than with dedicated compounds, and any residue left behind can cause corrosion or irritate skin during shaving. Use toothpaste only as an emergency substitute, and rinse extremely thoroughly afterward.
Quick Reference: How to Sharpen Electric Shaver Blades
- Identify your shaver type — foil or rotary — and choose the appropriate method.
- Clean thoroughly before sharpening: remove hair debris and rinse; dry completely.
- Foil shavers: use the aluminum foil lap method or leather strop for regular maintenance.
- Rotary shavers: use the self-lapping method with fine honing compound every 4–6 months.
- Severe dulling: apply diamond paste for one 30-second session, once per year maximum.
- Rinse all abrasive residue completely after every sharpening session.
- Lubricate with one drop of clipper or mineral oil per head after every clean and sharpen.
- Replace when the foil guard is damaged, blades are corroded, or 3+ sharpenings show no effect.